The Ultimate Guide to Vinyl Fence Installation in Anderson


Introduction to Vinyl Fencing
If you're looking for a durable and attractive fencing option, vinyl fences are an excellent choice. Known for their low maintenance and long-lasting appeal, vinyl fences have become a popular choice for homeowners in Anderson. This guide will take you through the essential steps and considerations for installing a vinyl fence.
Whether you're looking to enhance your home’s privacy, security, or aesthetic value, vinyl fences offer a versatile solution. Their resistance to weather and pests makes them a worthwhile investment.
Planning Your Vinyl Fence Installation
Understanding Local Regulations
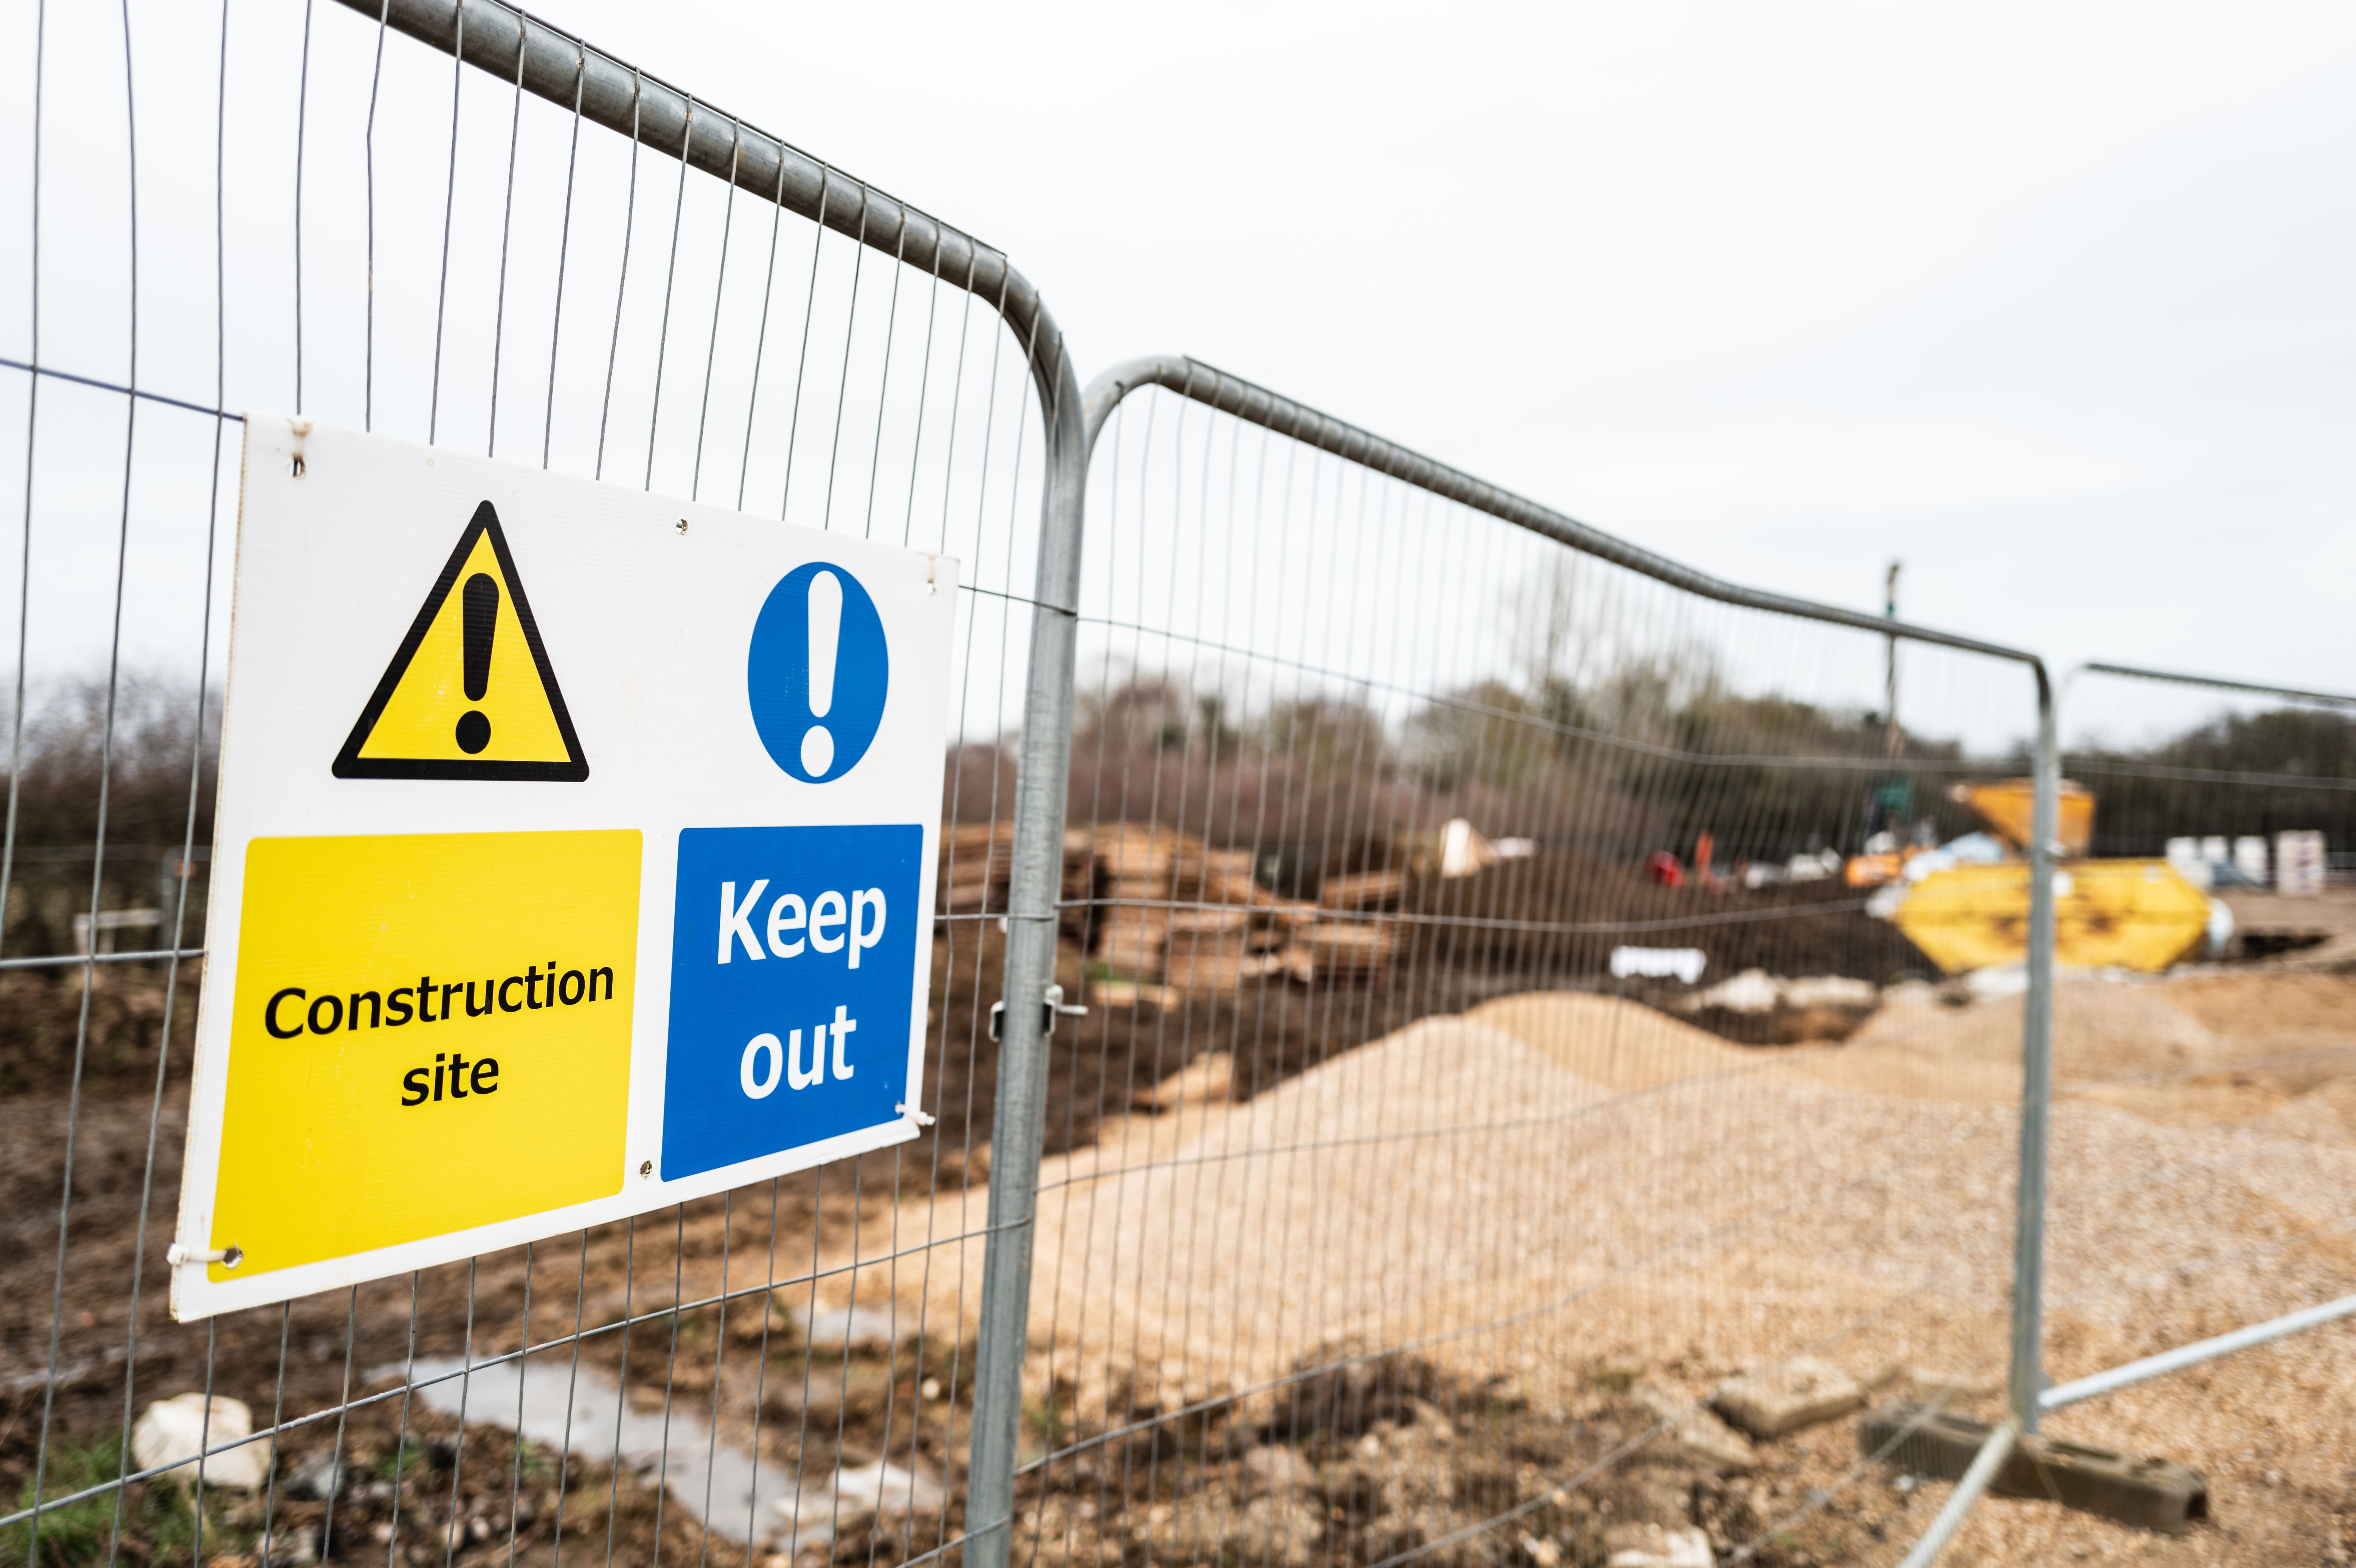
Before beginning your vinyl fence installation, it's essential to check local zoning laws and homeowners association regulations in Anderson. These rules might dictate the height, style, and placement of your fence.
Measuring and Designing
Accurate measurements are crucial for a successful installation. Start by outlining the area you want to fence, marking corners and gates. A detailed plan will help you purchase the right amount of materials and avoid unnecessary costs.
Gathering Materials and Tools
Once you've completed the planning phase, it's time to gather the necessary materials and tools. You'll need vinyl fence panels, posts, caps, brackets, and screws. For the tools, prepare a post-hole digger, level, tape measure, and a power drill.
Choosing high-quality materials is vital for ensuring the durability and longevity of your fence. Consider purchasing from reputable suppliers to avoid future complications.
Step-by-Step Installation Process
Setting the Posts
The first step in the installation process is setting the posts. Use a post-hole digger to create holes for the posts, ensuring they are deep enough to support the fence's weight. Space the holes according to the length of your panels.
Once the holes are ready, place the posts and fill them with concrete. Ensure that each post is level and aligned properly before the concrete sets.
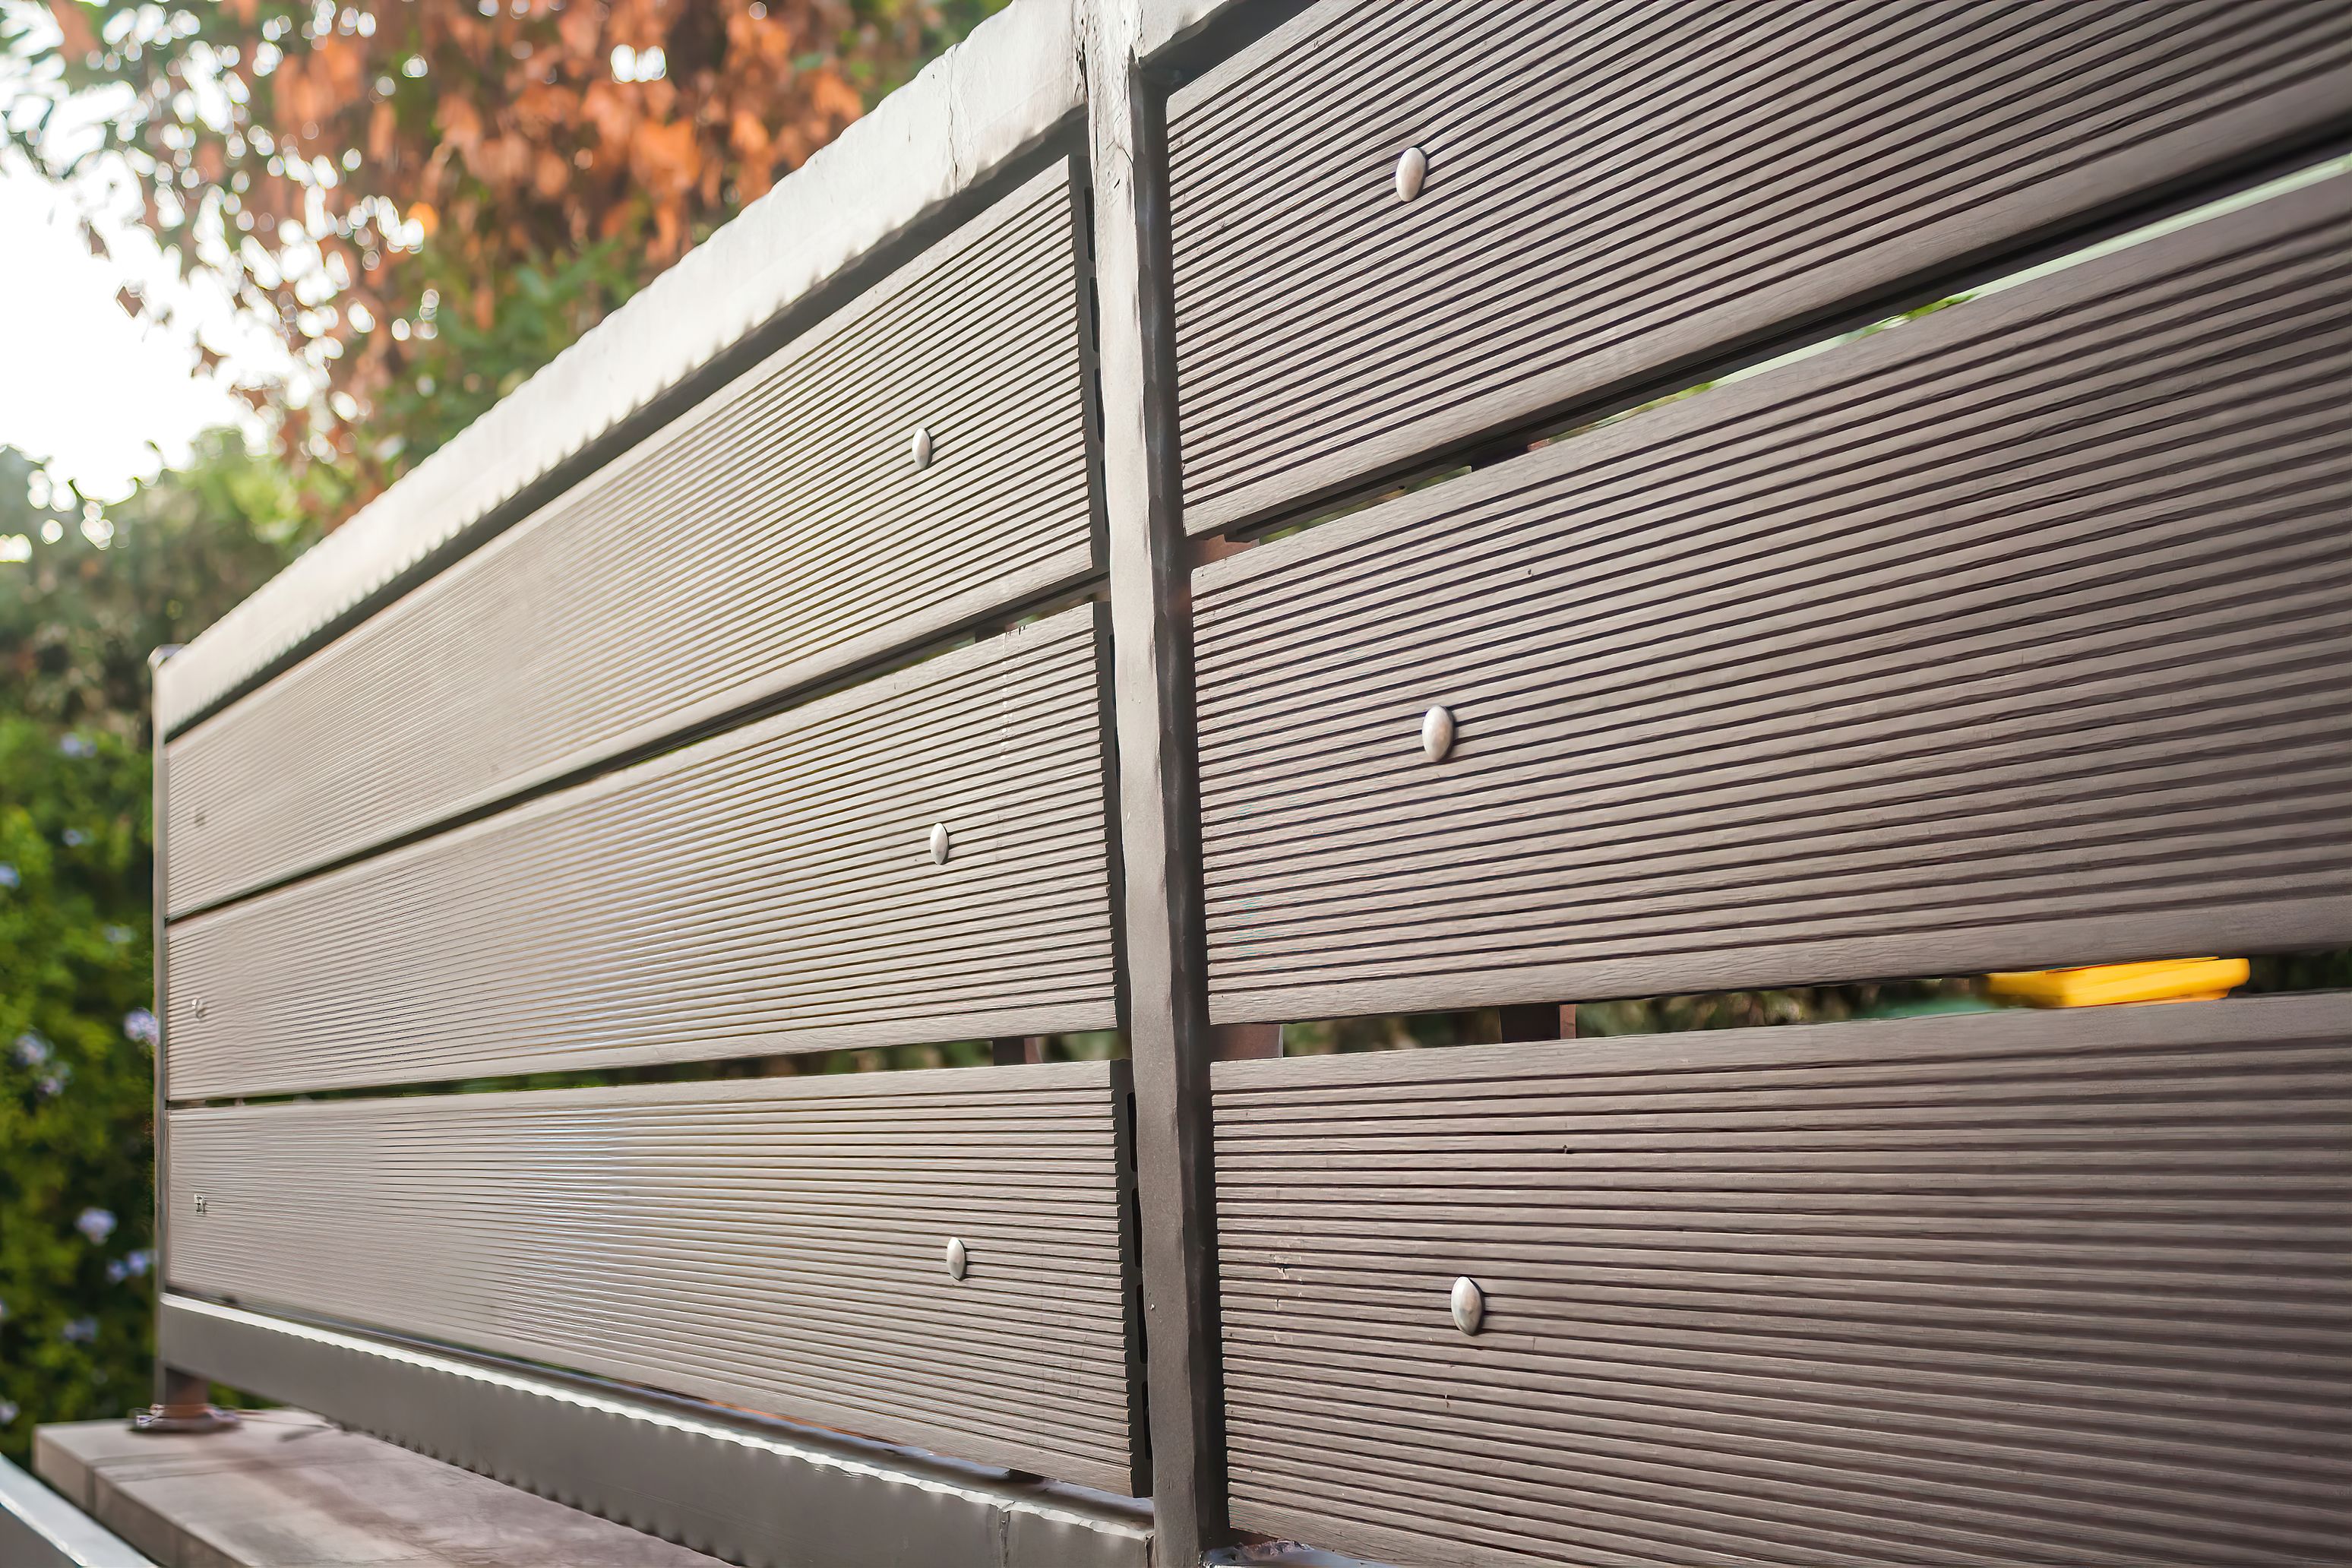
Attaching the Panels
After the posts are securely in place, it's time to attach the vinyl panels. Use brackets and screws to connect the panels to the posts, ensuring they are level and evenly spaced. Double-check your work as you go to avoid any misalignments.
Final Touches and Maintenance
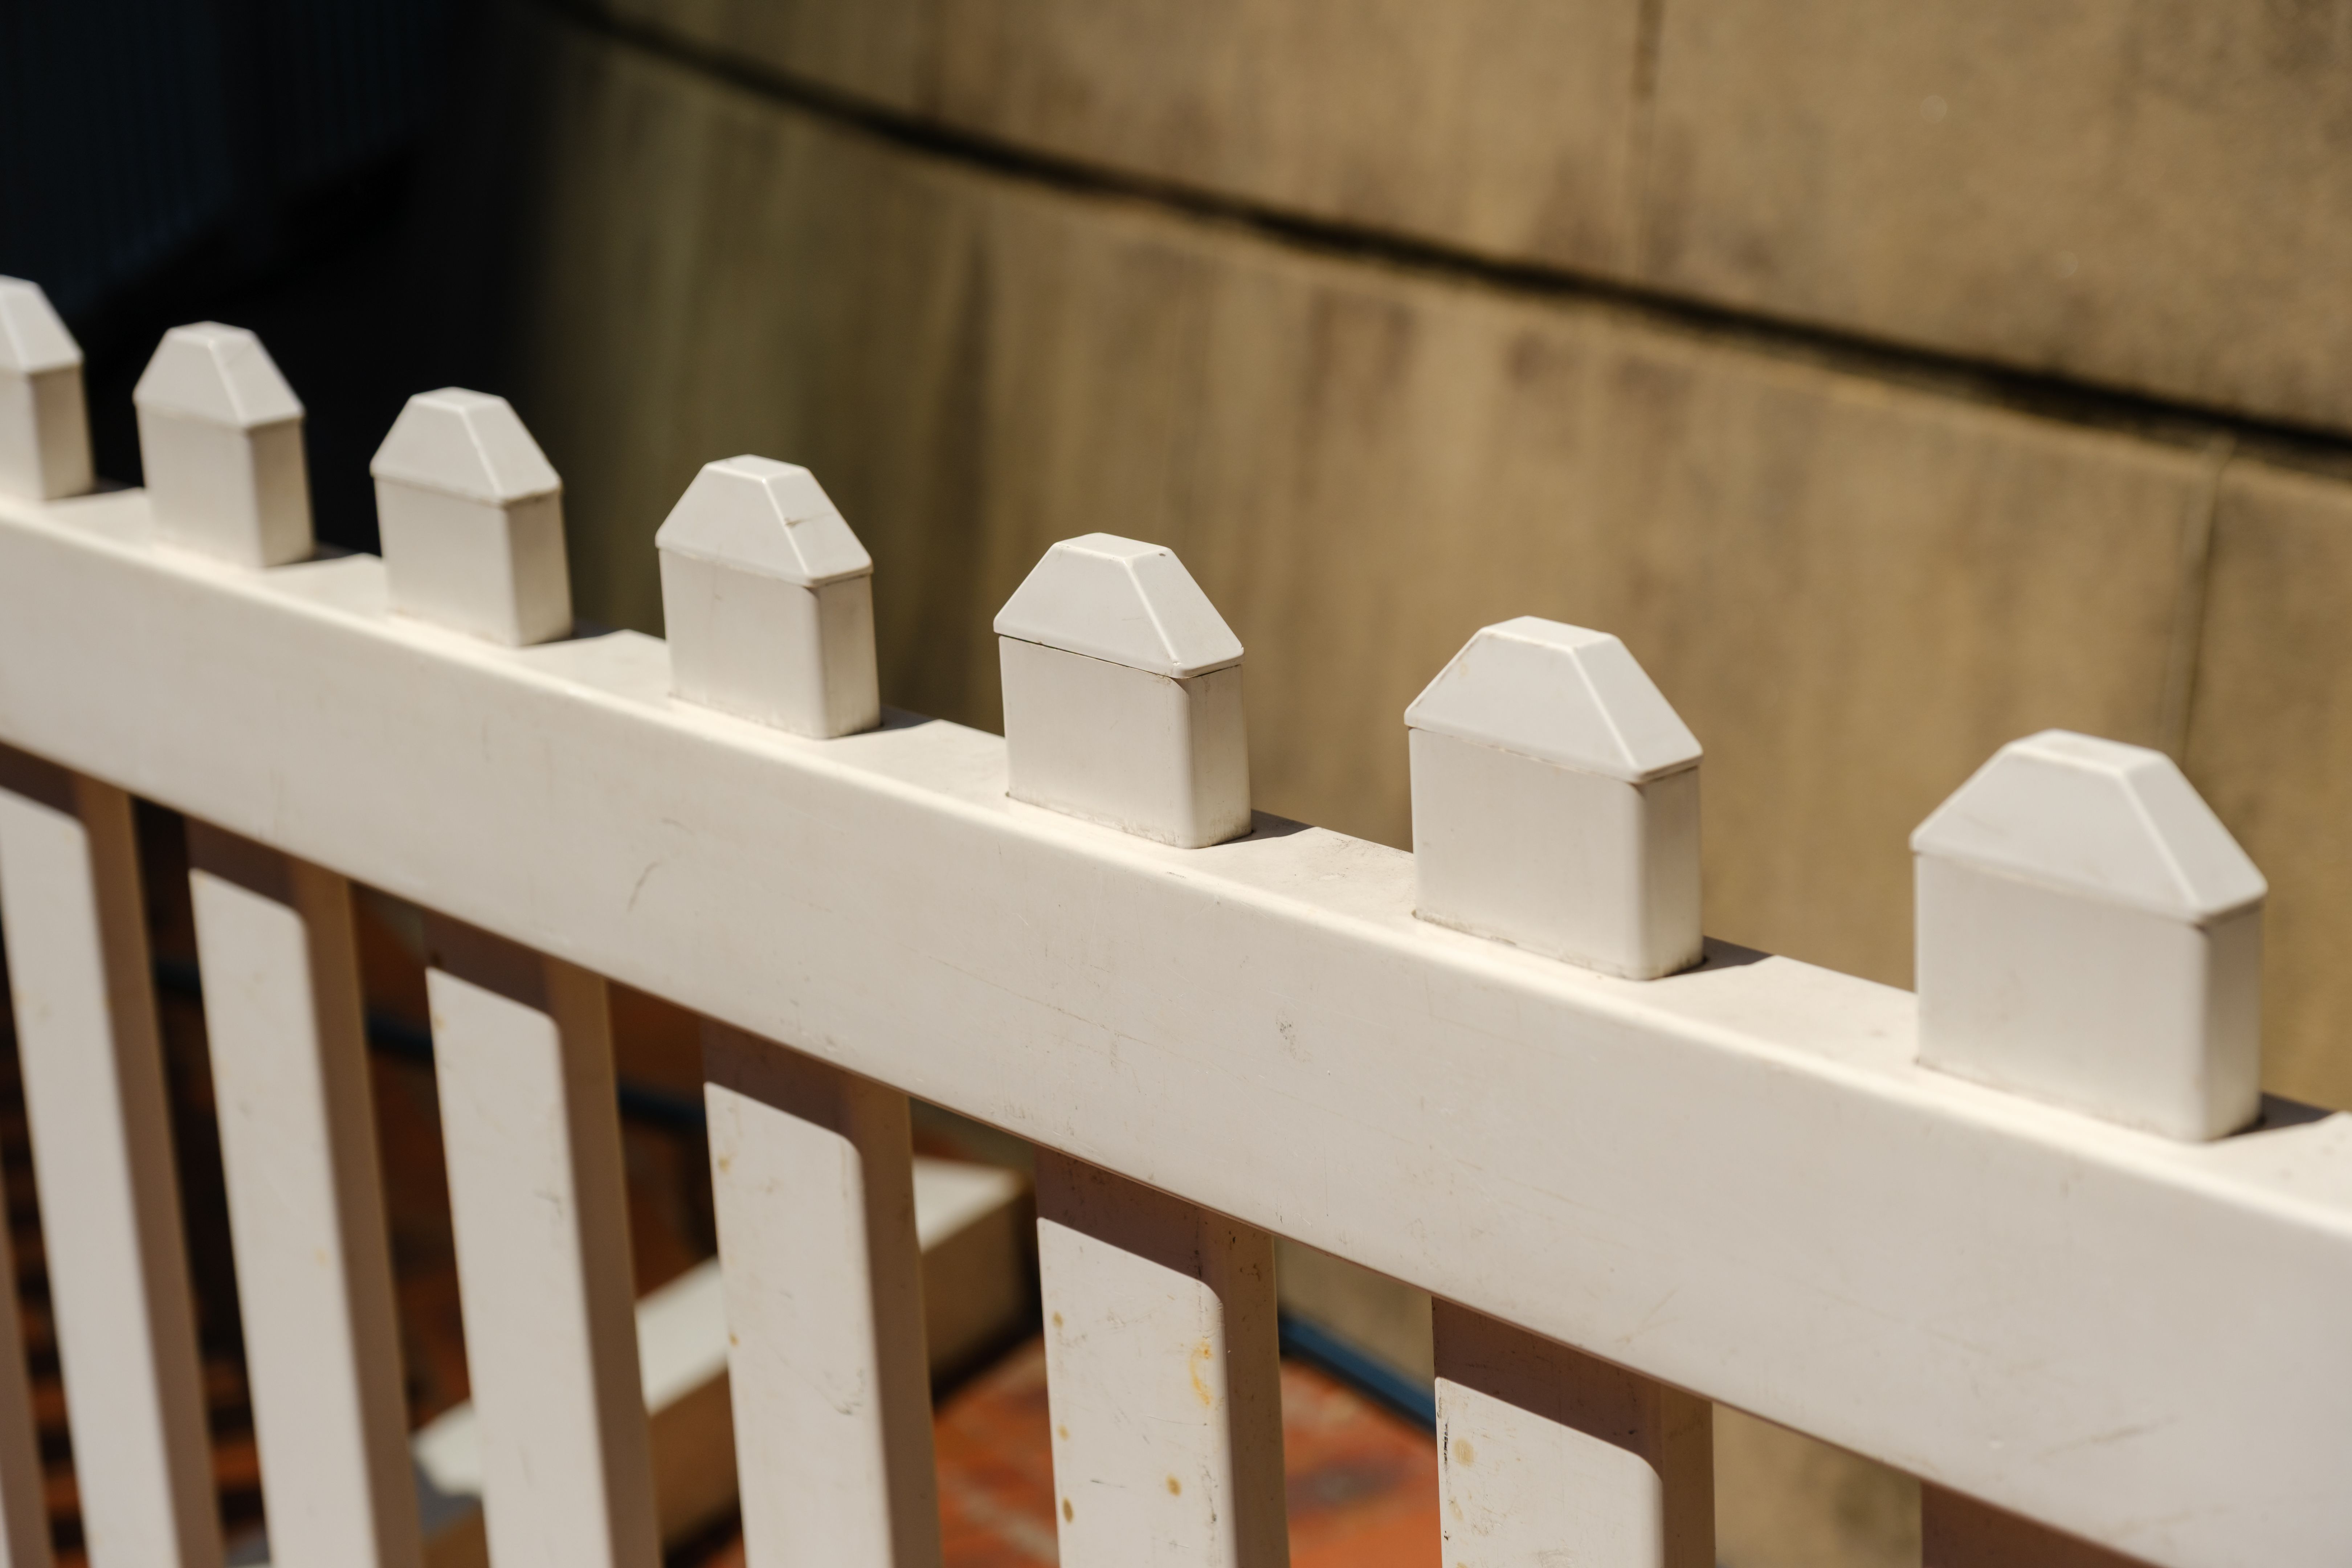
With your fence installed, add the finishing touches by placing caps on the posts. These not only enhance the appearance but also protect the posts from weather damage.
One of the benefits of vinyl fencing is its low maintenance requirements. Regular cleaning with soap and water is typically sufficient to keep your fence looking new. Inspect your fence periodically for any signs of damage or wear.
Conclusion
Installing a vinyl fence in Anderson is a straightforward process that can significantly enhance your property's appeal and functionality. By following this guide, you can ensure a smooth installation and enjoy the benefits of your new vinyl fence for years to come.