The Ultimate Guide to Garden Gates Installation in Anderson, SC


When it comes to enhancing the curb appeal and security of your property in Anderson, SC, installing a garden gate can be a game-changer. Not only does it provide a welcoming entrance to your garden, but it also serves as a vital element of your landscape design. Whether you’re a DIY enthusiast or planning to hire a professional, this ultimate guide to garden gate installation will walk you through the essential steps and considerations.
Choosing the Right Garden Gate
The first step in your garden gate installation journey is selecting the right gate. Consider the style, material, and functionality that best suits your garden's aesthetic and purpose. Popular materials include wood, metal, and vinyl, each offering unique benefits. Wood adds a rustic charm, metal provides durability, and vinyl offers low maintenance.
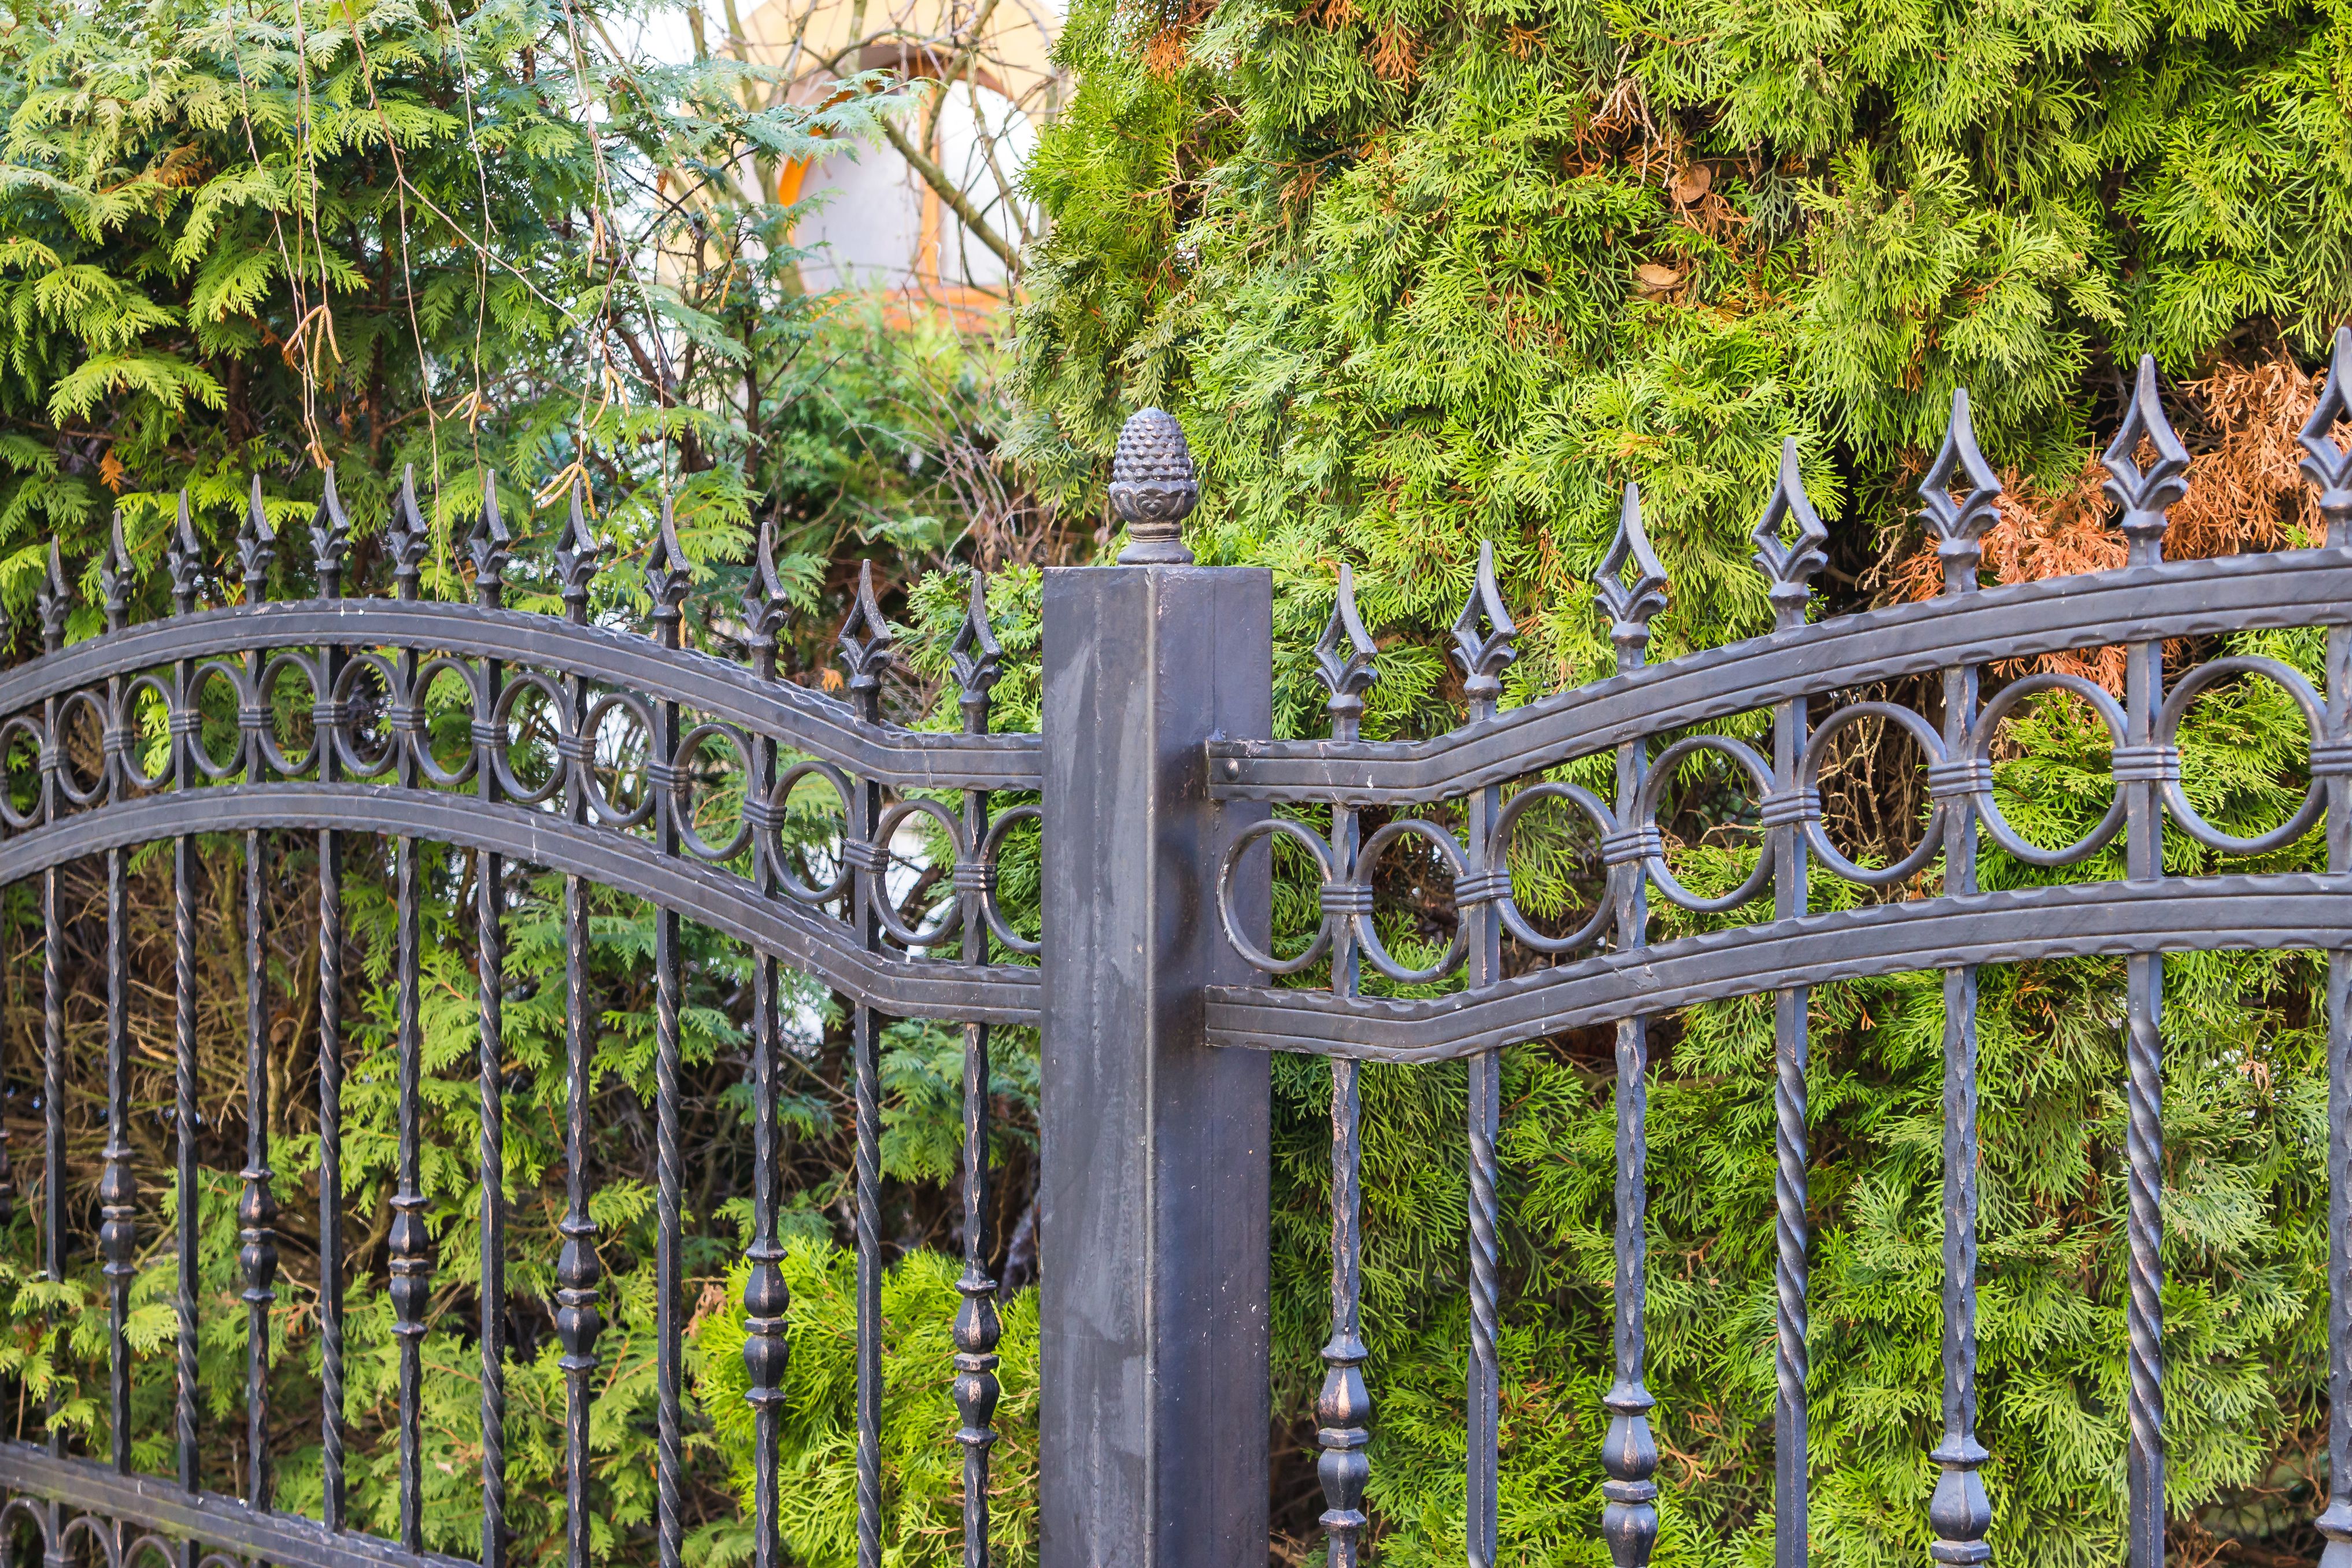
It's also essential to consider the gate's size and design. Measure the entrance space accurately to ensure a perfect fit. Think about the gate's primary function—whether it’s purely decorative or intended for security purposes. This will guide you in choosing the right height and locking mechanism.
Preparing for Installation
Before diving into the installation process, proper preparation is crucial. Start by checking local regulations and obtaining any necessary permits. This step is often overlooked but is vital to avoid future legal issues. Clear the installation area of any obstacles, and mark the exact location for the gate posts.

Gather all the necessary tools and materials. Common tools include a post hole digger, level, measuring tape, and a drill. Depending on the gate material, you might also need specific screws or adhesives. Having everything on hand will make the installation process smoother and more efficient.
Installing the Gate
Begin the installation by setting the gate posts. Dig holes that are deep enough to support the posts securely. The general rule is to dig a hole one-third the height of the post. Place the posts in the holes, ensuring they are level and aligned. Fill the holes with concrete for added stability.
Once the posts are securely in place, attach the gate. Use hinges that are compatible with your gate material. Ensure the gate swings smoothly and is aligned correctly with the posts. Adjustments may be necessary to achieve the perfect fit.
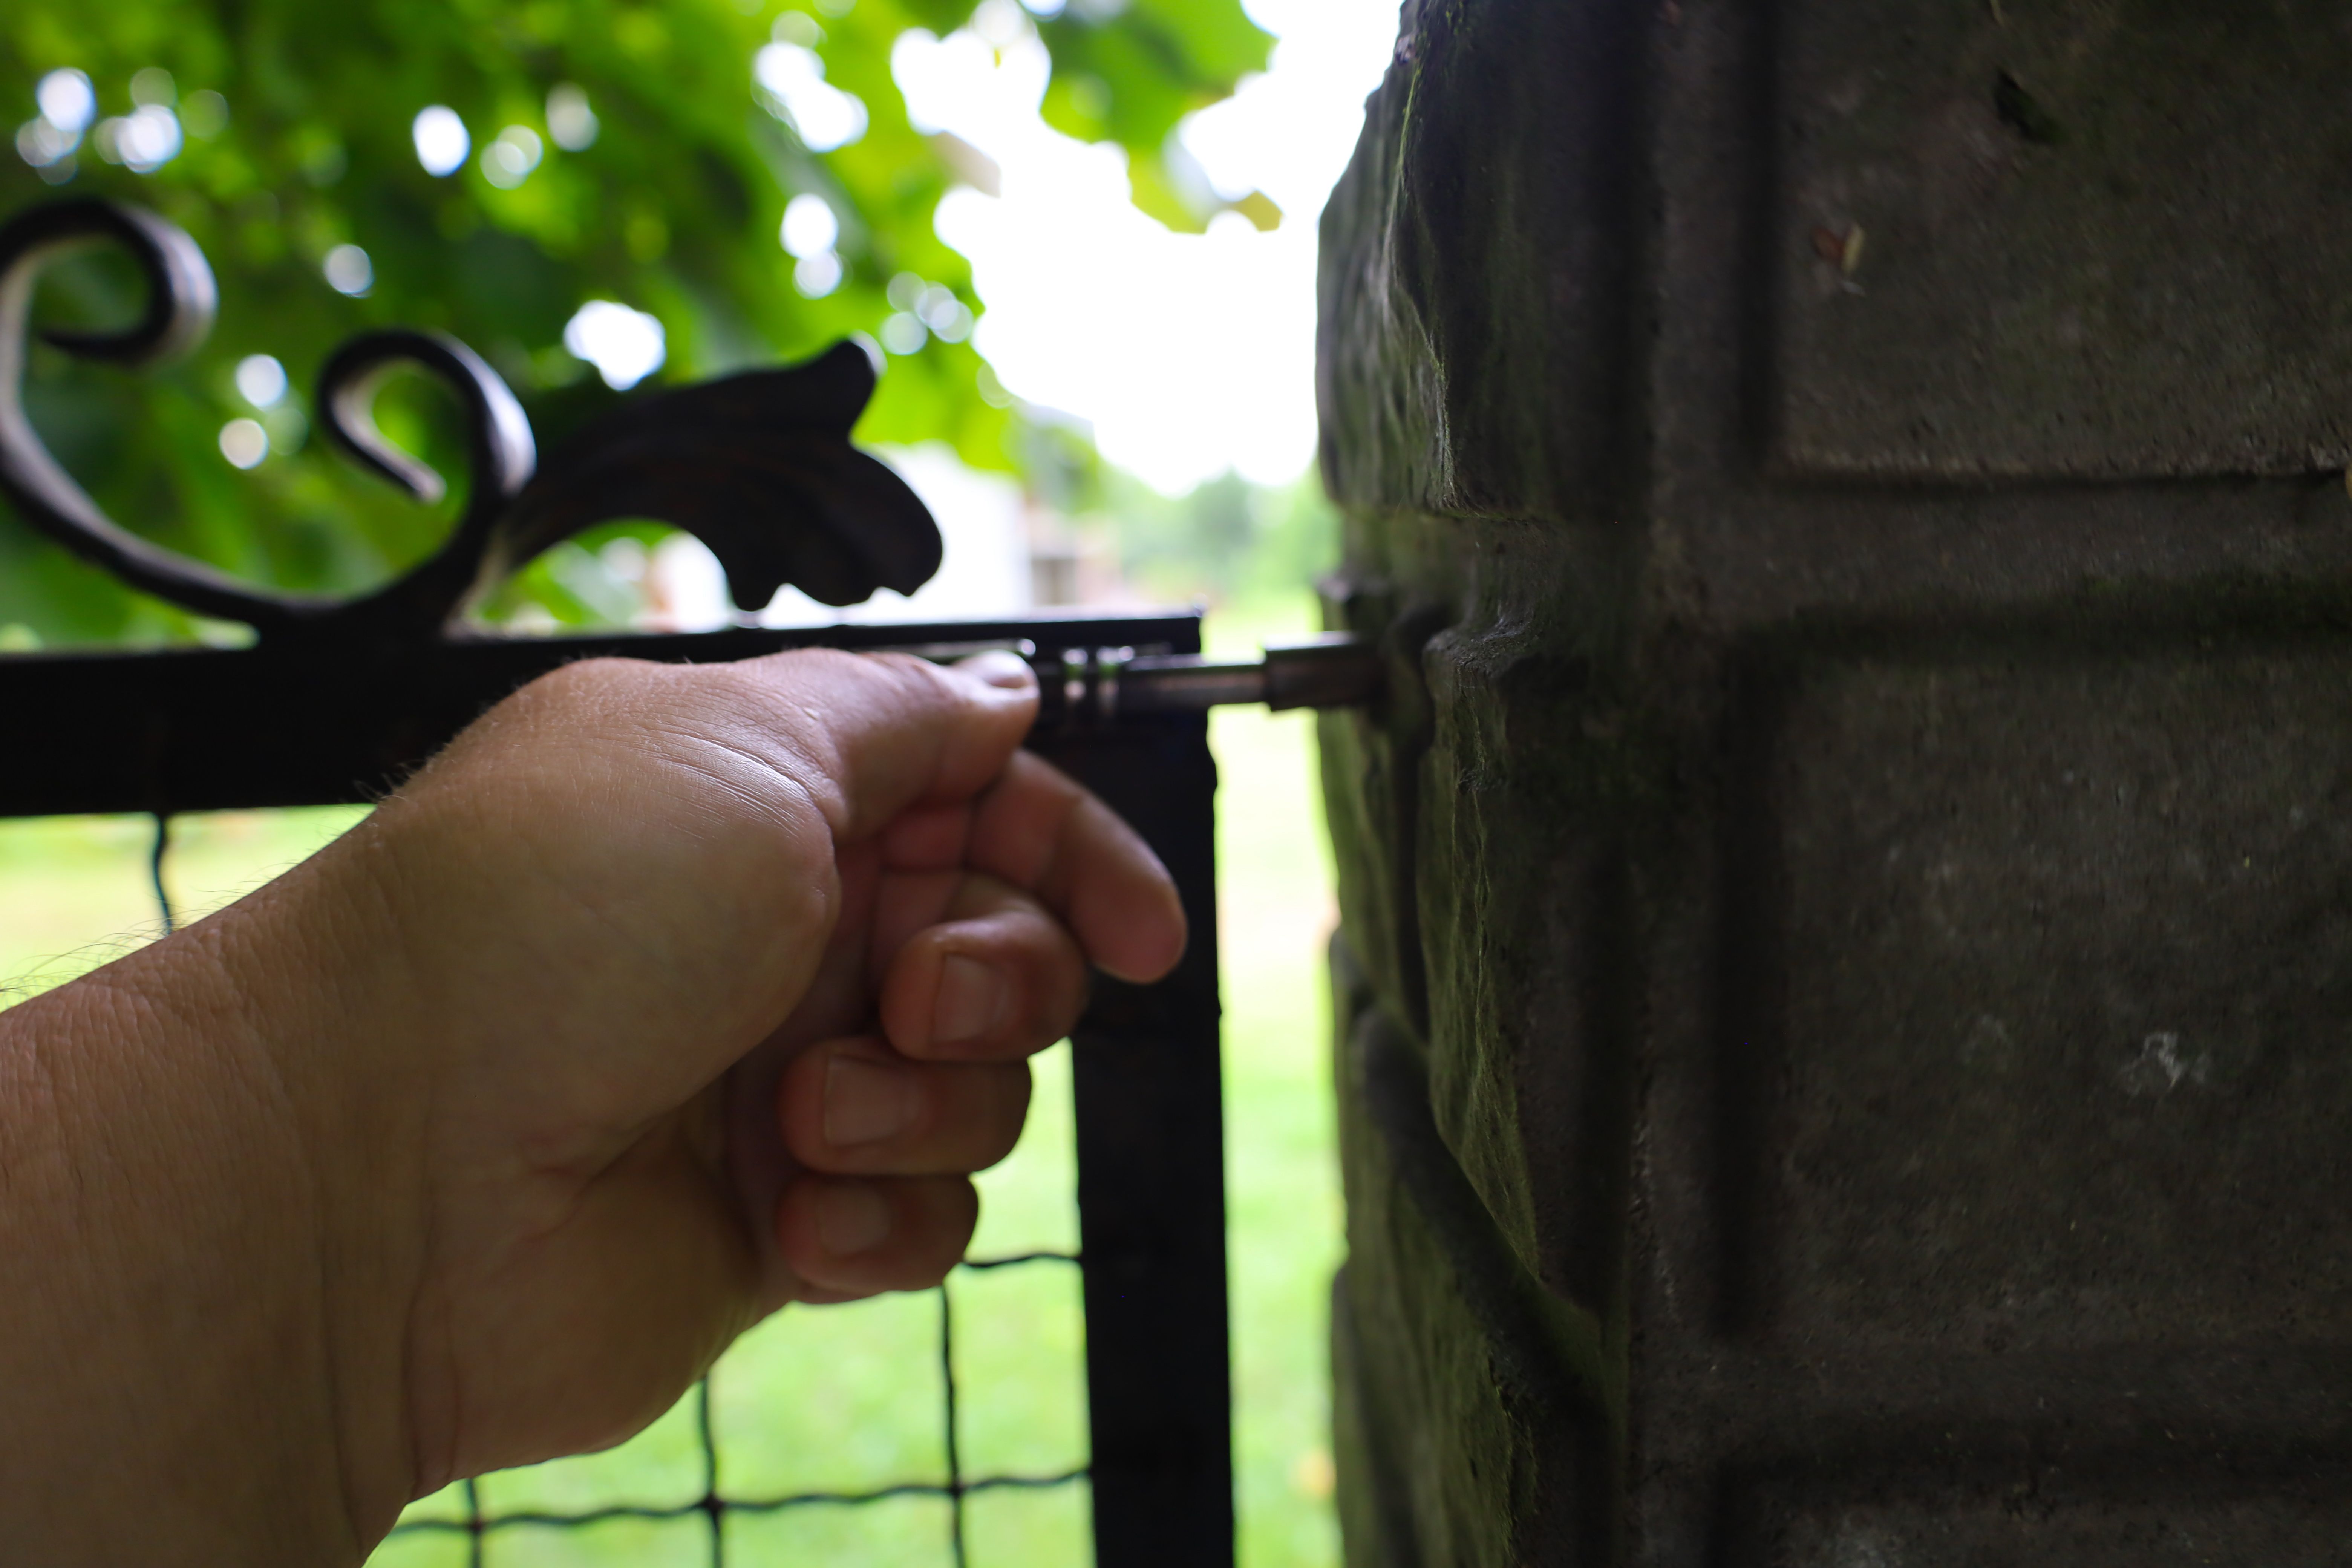
Finally, install the latch or locking mechanism. Choose a lock that matches your security needs and complements the gate’s style. Test the gate to ensure it opens and closes easily and that the lock functions properly.
Maintaining Your Garden Gate
To keep your garden gate looking great and functioning well, regular maintenance is key. For wooden gates, apply a protective sealant to prevent weather damage. Metal gates may require occasional rust treatment, while vinyl gates benefit from regular cleaning to remove dirt and grime.
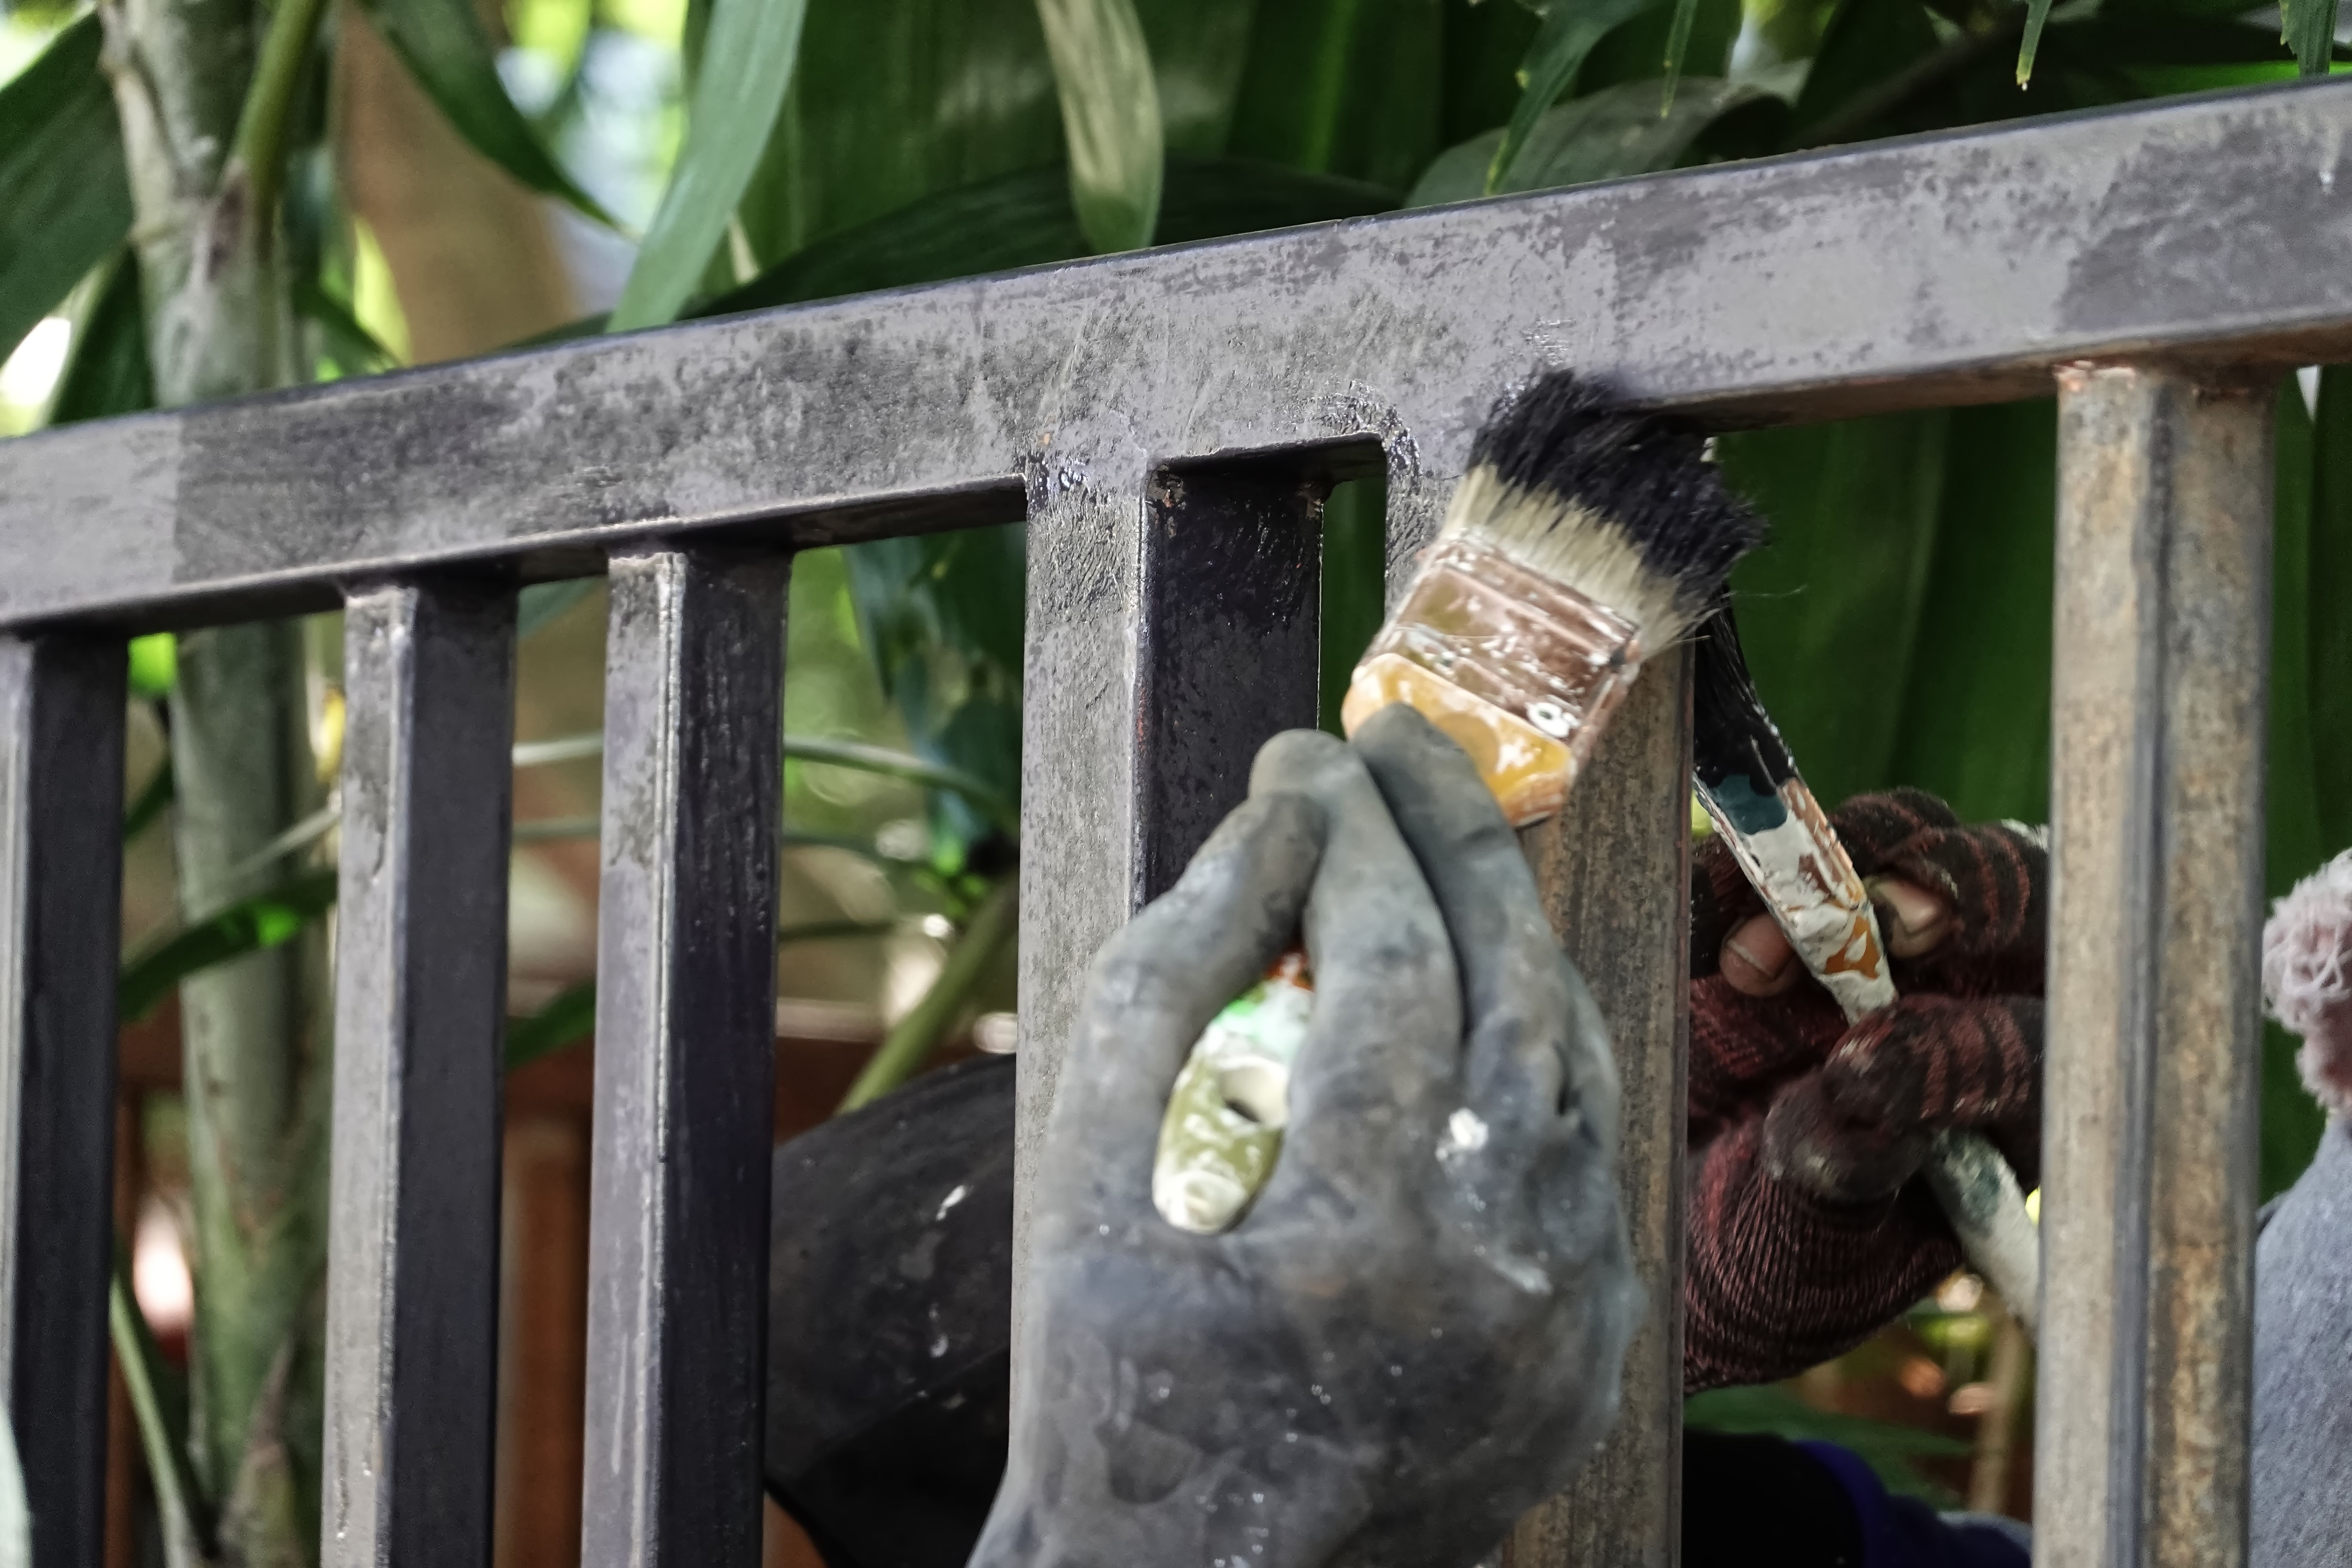
Check the gate’s hardware periodically to ensure everything remains tight and secure. Lubricate hinges as needed to prevent squeaking and ease movement. By staying on top of maintenance, your garden gate will serve you well for years to come.
In conclusion, installing a garden gate in Anderson, SC, is a rewarding project that enhances both the beauty and security of your property. By following this guide, you'll be well on your way to creating a stunning entrance that reflects your unique style and meets your functional needs.