Garden Gates Installation in Anderson, SC: A Step-by-Step Guide


Installing a garden gate in Anderson, SC, is an excellent way to enhance the security and aesthetic appeal of your property. Whether you're a DIY enthusiast or hiring a professional, understanding the installation process can ensure a smooth project. This guide provides a step-by-step approach to help you achieve a successful garden gate installation.
Choosing the Right Garden Gate
The first step in the installation process is selecting the appropriate gate for your garden. Consider both function and style. Materials like wood, metal, or vinyl each offer distinct benefits. Wood provides a classic look, metal offers durability, and vinyl is low-maintenance.
Consider Your Garden's Style
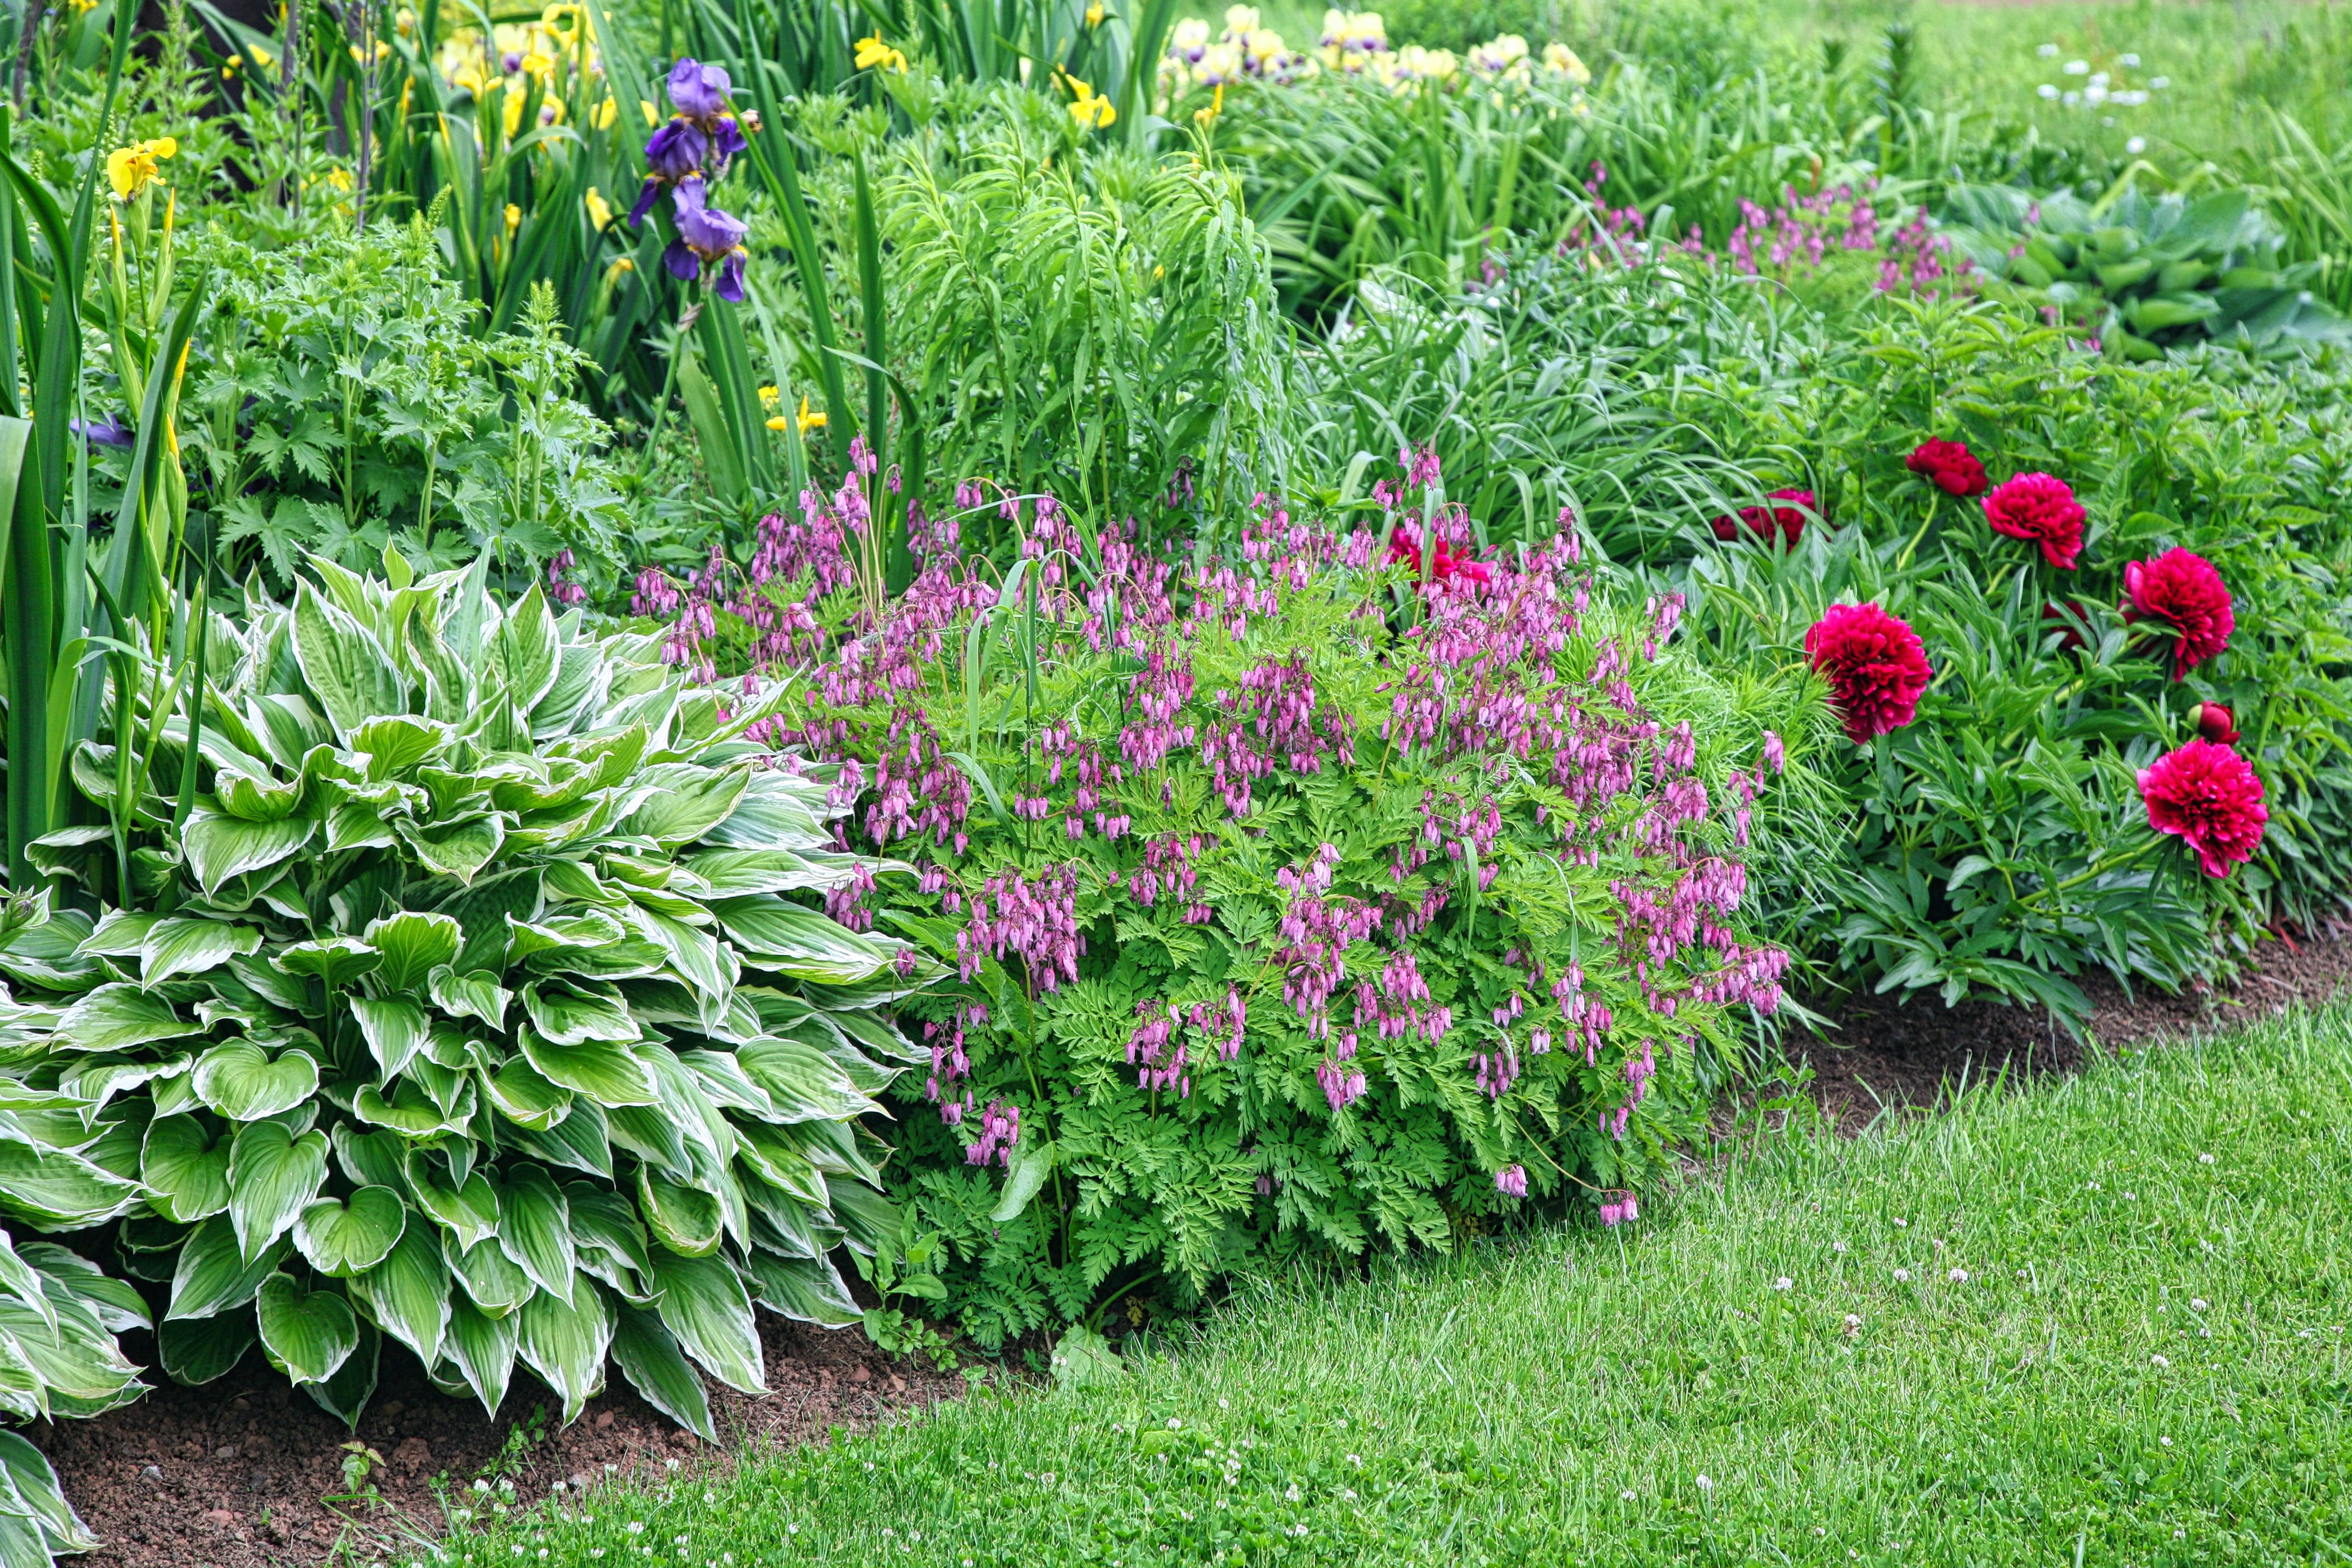
Your garden’s design will influence the gate you choose. A rustic garden may benefit from a wooden gate, while a modern landscape might look best with sleek, metal lines. It's essential to match the gate to the overall aesthetic of your garden.
Planning and Preparation
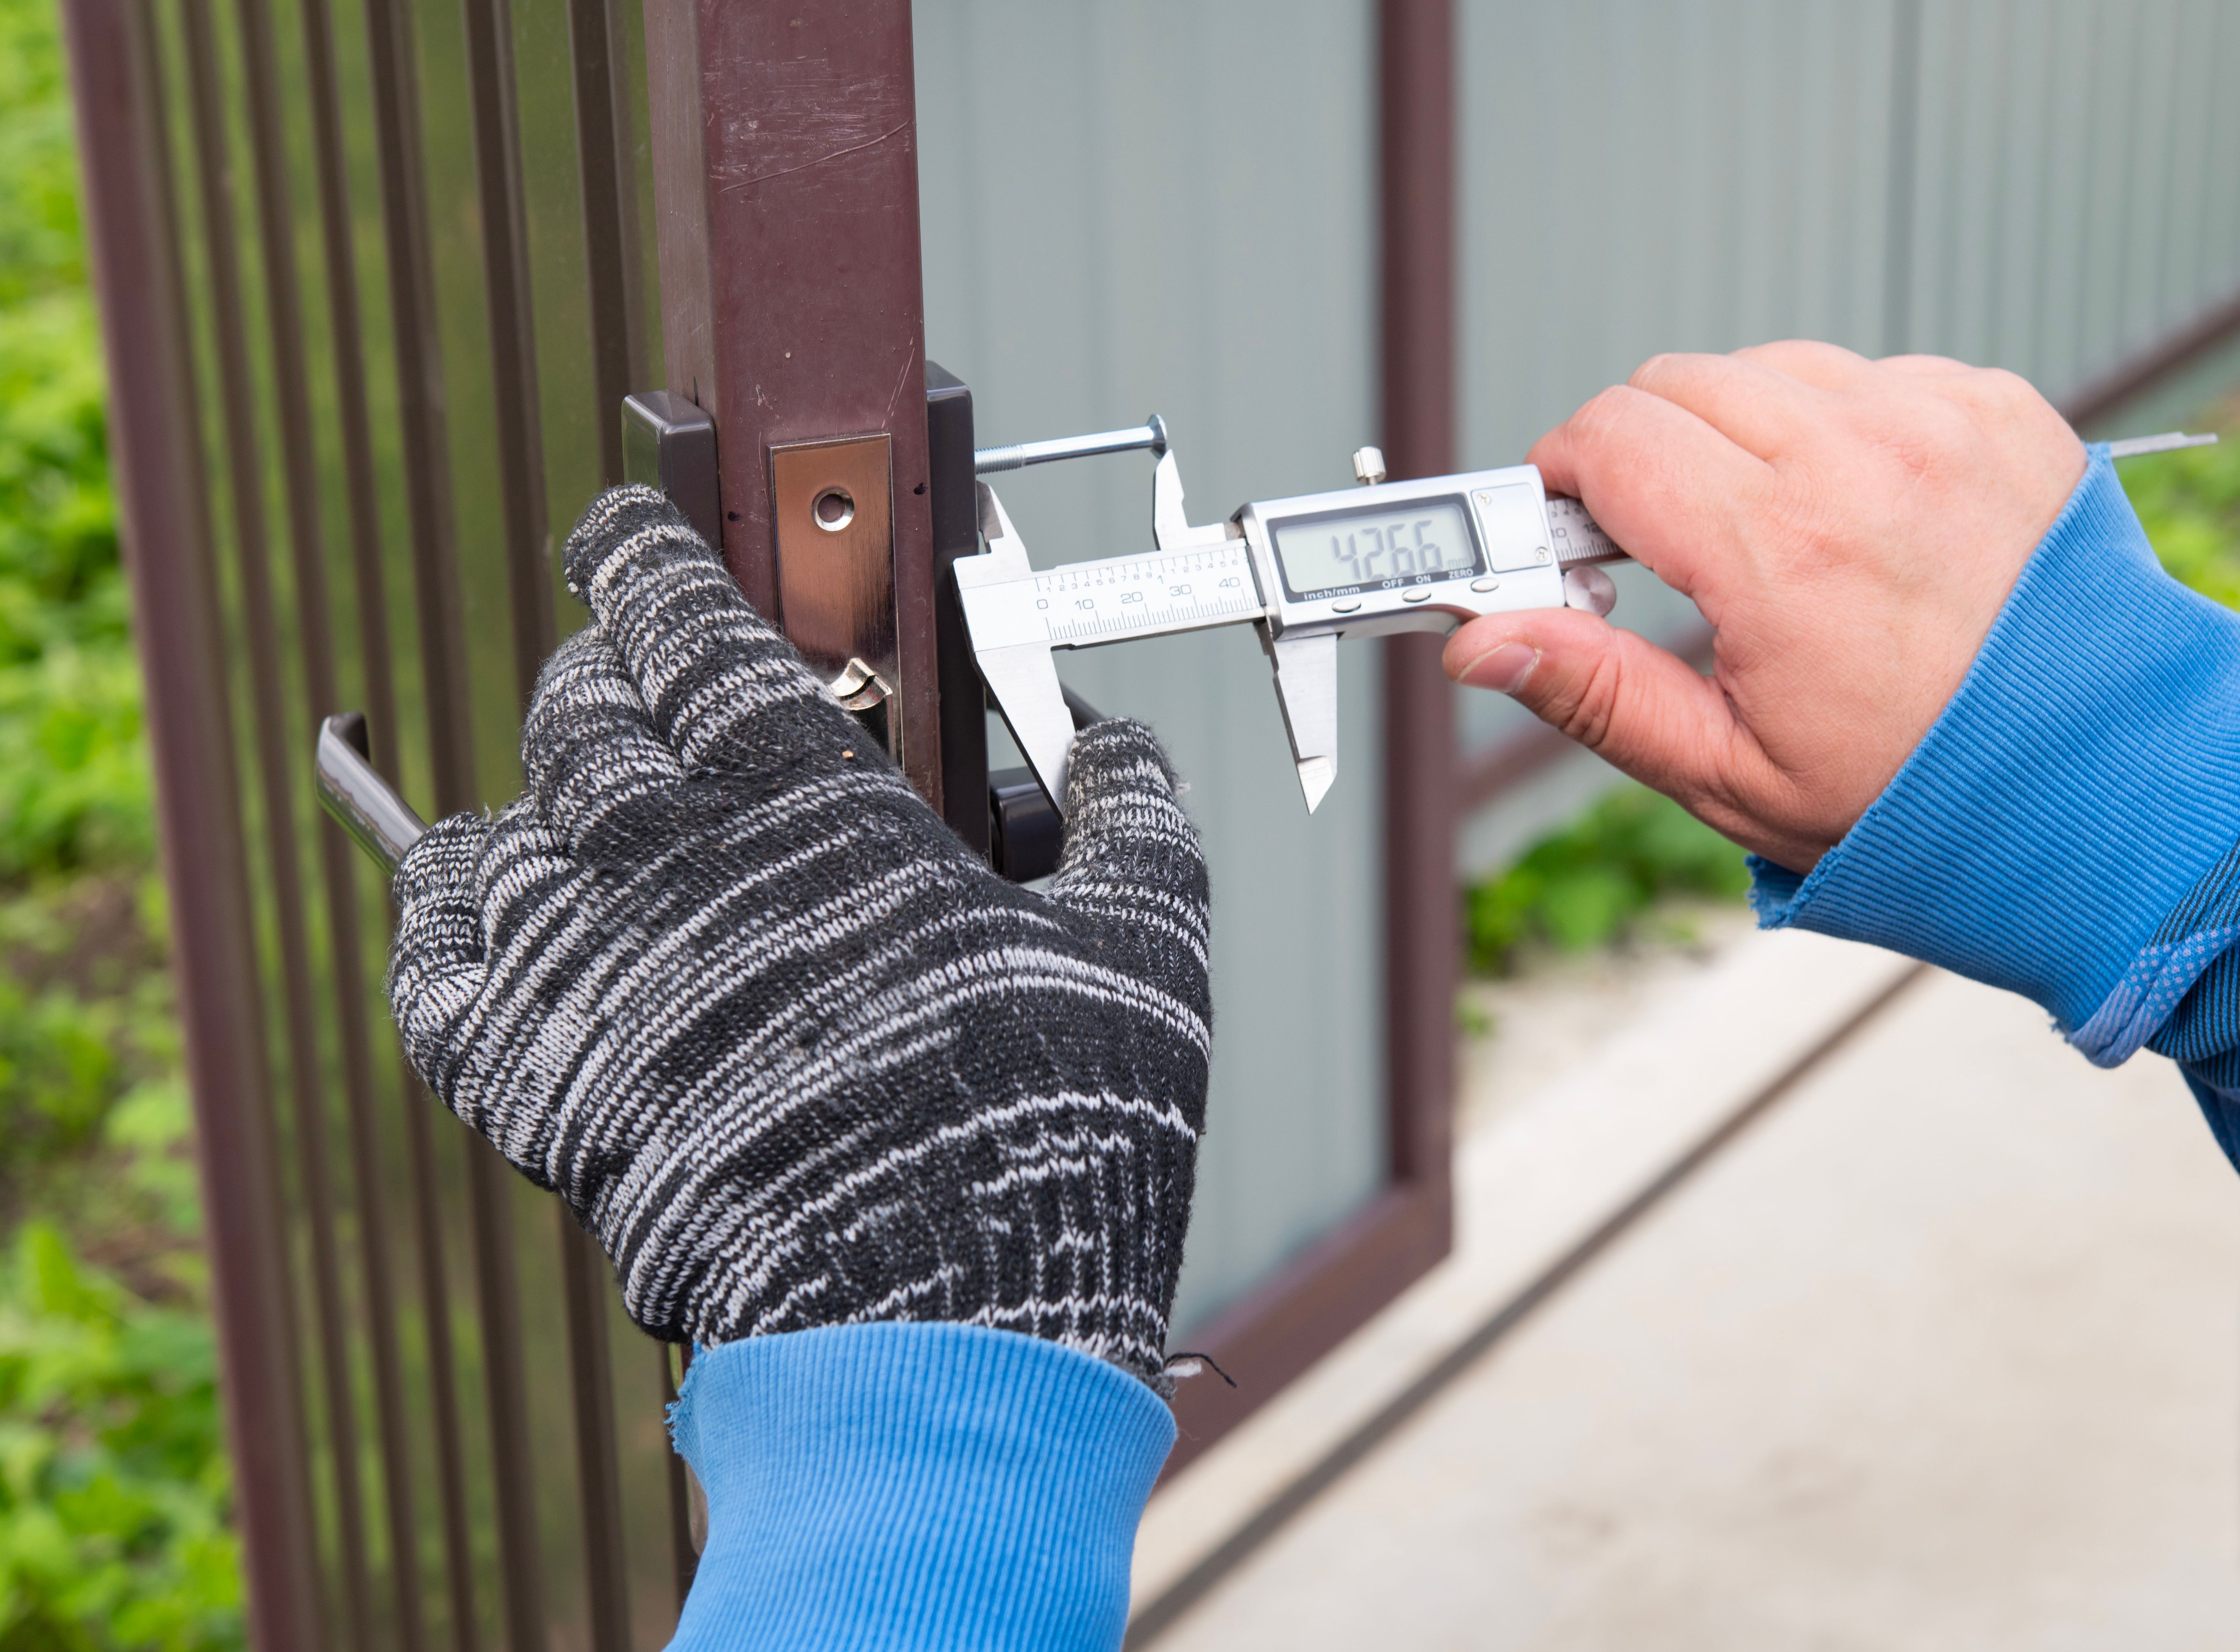
Proper planning is crucial for a successful installation. Start by measuring the area where the gate will be installed. Accurate measurements ensure that your gate fits perfectly and functions correctly.
Gathering Necessary Tools and Materials
Before you begin, gather all necessary tools and materials. You’ll need a posthole digger, level, screws, hinges, and a drill. Having everything on hand will make the installation process more efficient.
Installation Process
Once you have your tools and materials ready, it’s time to start the installation. Follow these steps to ensure a sturdy and reliable garden gate:
- Mark the Post Locations: Use stakes to mark where the gate posts will go. Ensure they are correctly aligned.
- Dig the Post Holes: Use a posthole digger to create holes for the gate posts. The depth should be about one-third of the post's height.
- Set the Posts: Place the posts into the holes and fill them with concrete. Use a level to ensure they are straight. Allow the concrete to set for at least 24 hours.
- Attach the Gate: Once the posts are secure, attach the gate using hinges. Make sure it swings freely and is level with the ground.
Finishing Touches
After the gate is installed, it's time to focus on the finishing touches. Consider painting or staining the gate to protect it from the elements and enhance its appearance.
Regular Maintenance
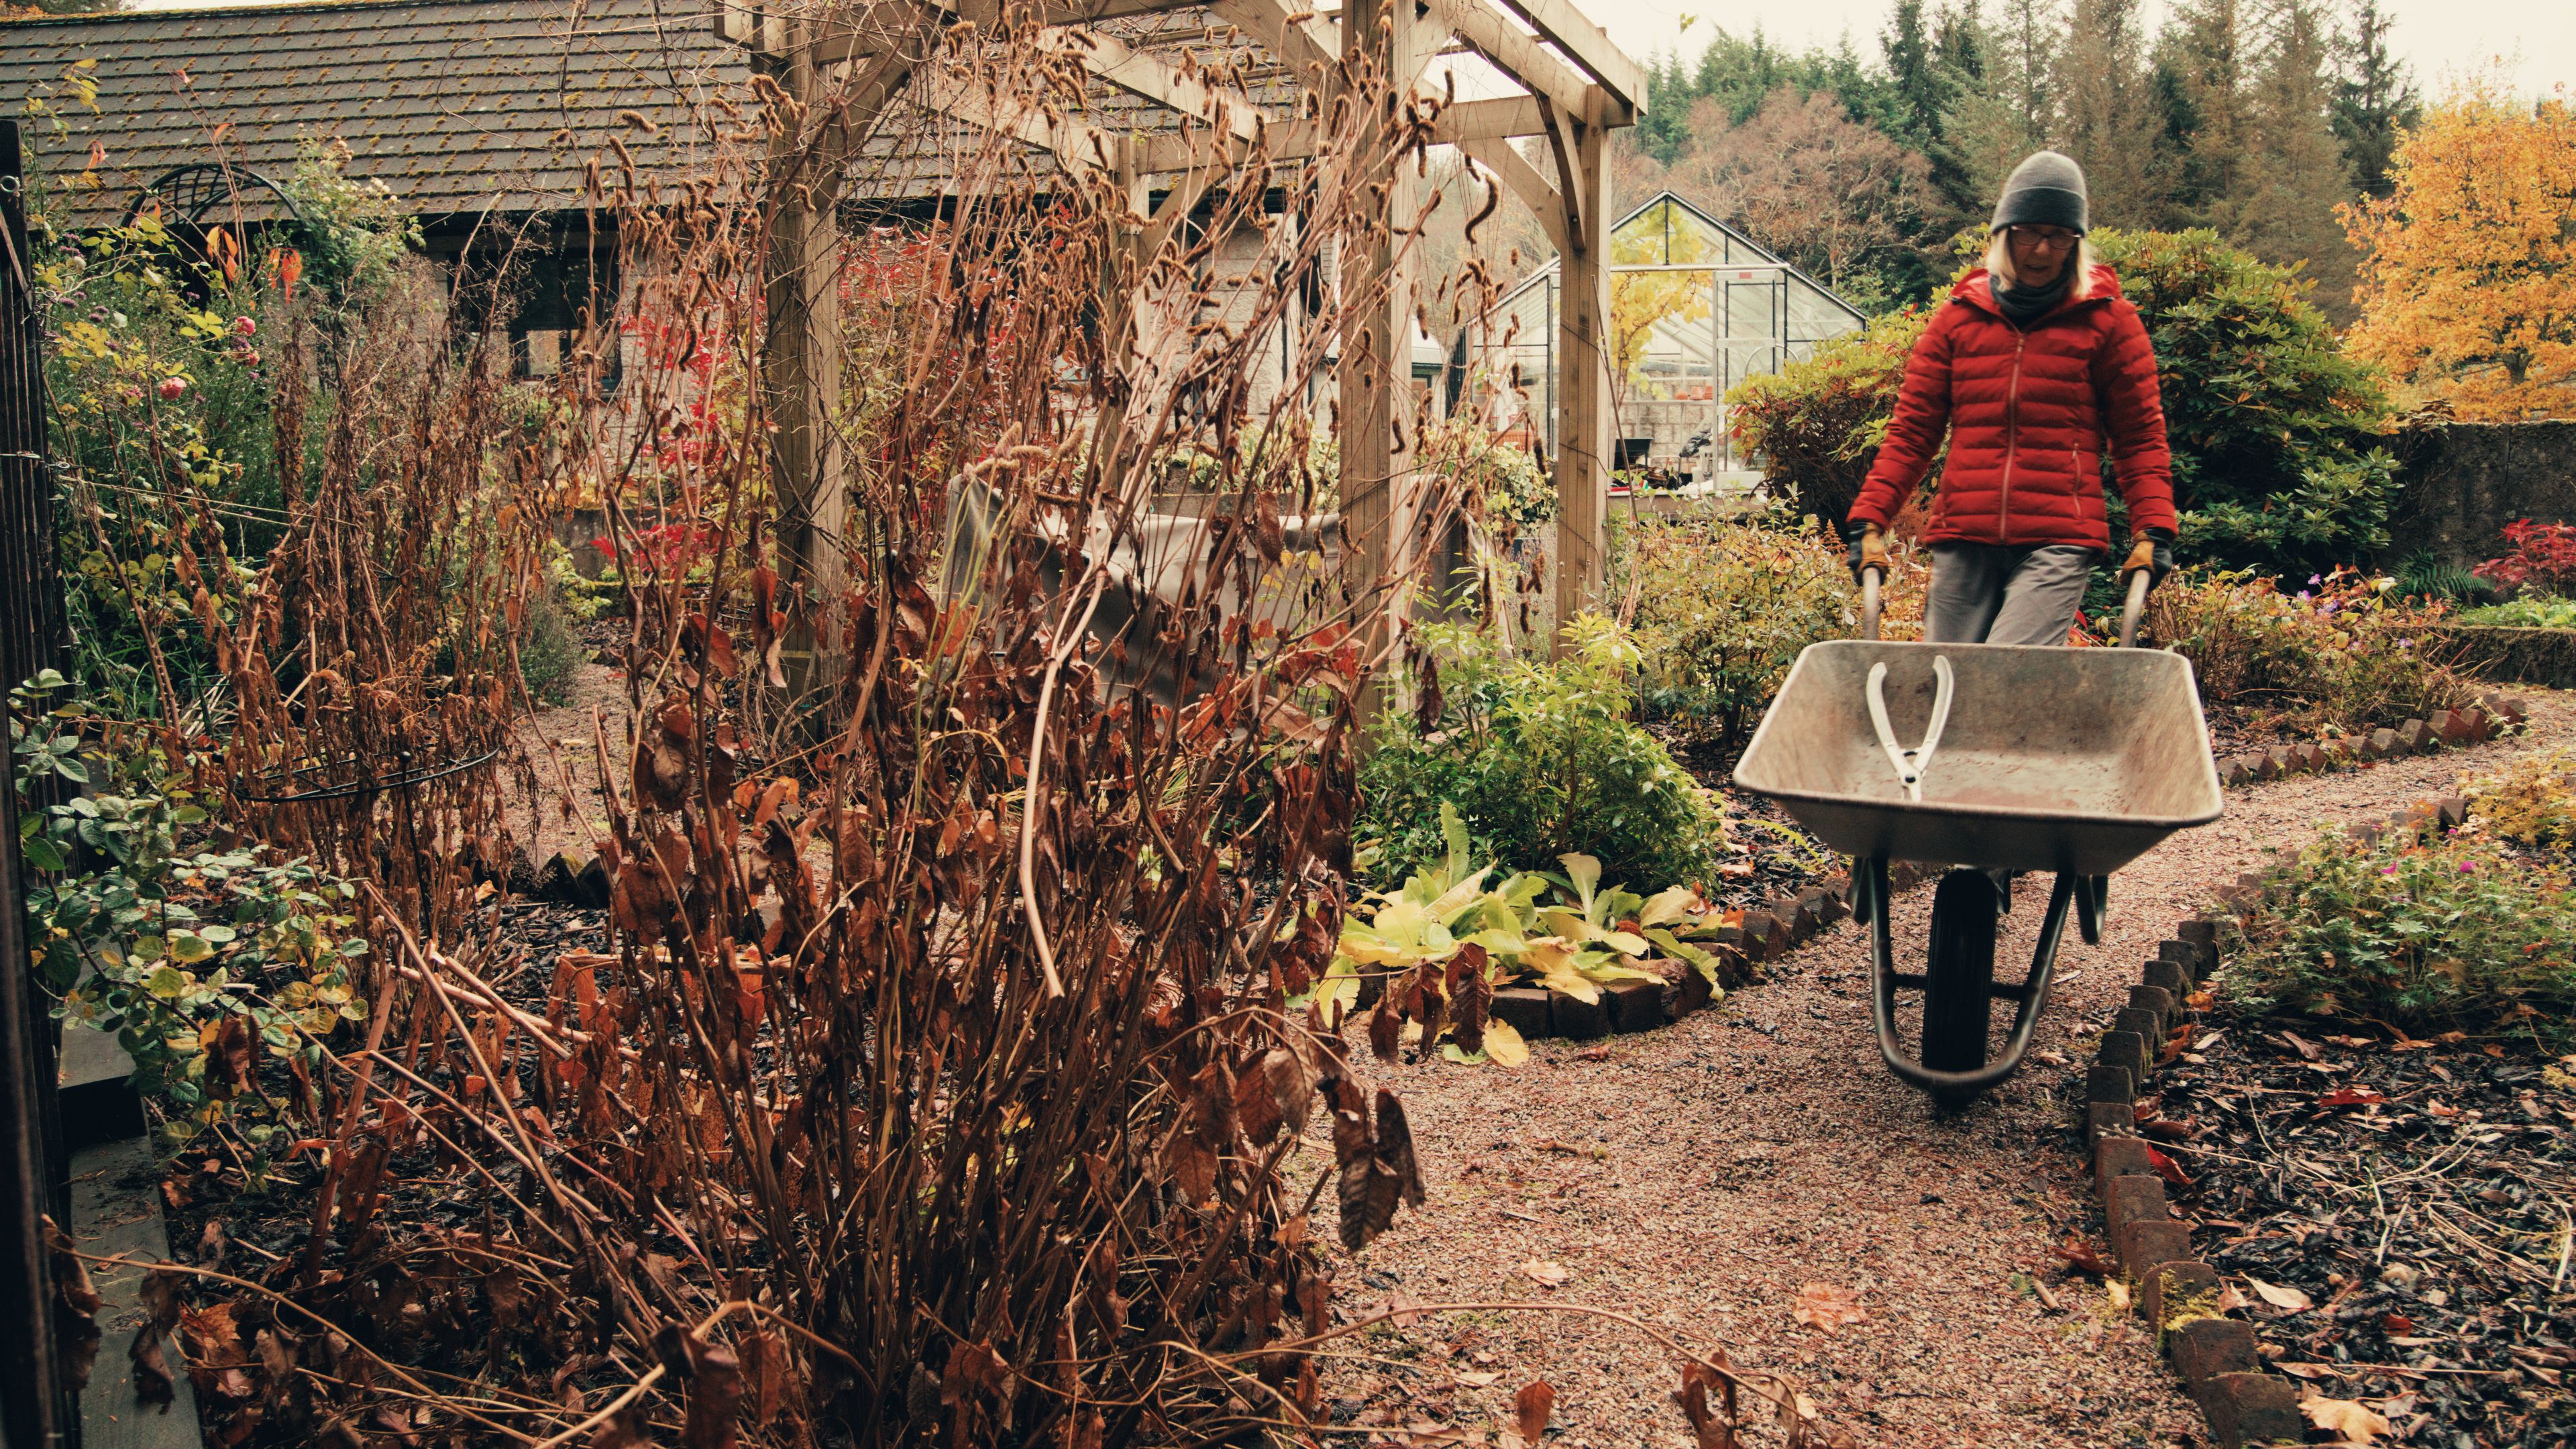
To ensure longevity, perform regular maintenance on your garden gate. Check for any signs of wear, tighten loose screws, and apply a fresh coat of paint or stain as needed.

By following this step-by-step guide, you can enjoy a beautiful and functional garden gate that complements your Anderson, SC property. Whether you opt for a DIY approach or hire a professional, understanding the process equips you with the knowledge to make informed decisions every step of the way.