DIY Fence Installation: What You Need to Know Before You Start


Understanding Your Needs and Requirements
Before diving into the world of DIY fence installation, it's crucial to understand your specific needs and requirements. Are you looking to enhance privacy, improve security, or simply add aesthetic appeal to your property? The purpose of your fence will guide the materials and design you choose.
Consider factors like the height of the fence, the type of material you prefer, and local zoning laws or HOA regulations that may influence your project. It's important to have a clear vision before you start purchasing materials or breaking ground.
Gathering the Right Tools and Materials
Once you've established the purpose and design of your fence, it's time to gather the necessary tools and materials. Basic tools include a post hole digger, level, measuring tape, saw, and drill. Depending on your fence type, you may also need concrete for setting posts.
The materials you'll need will vary based on your chosen design, but typically include fence panels or pickets, posts, nails or screws, and any decorative elements you wish to incorporate. Make sure to purchase quality materials that will withstand weather conditions in your area.
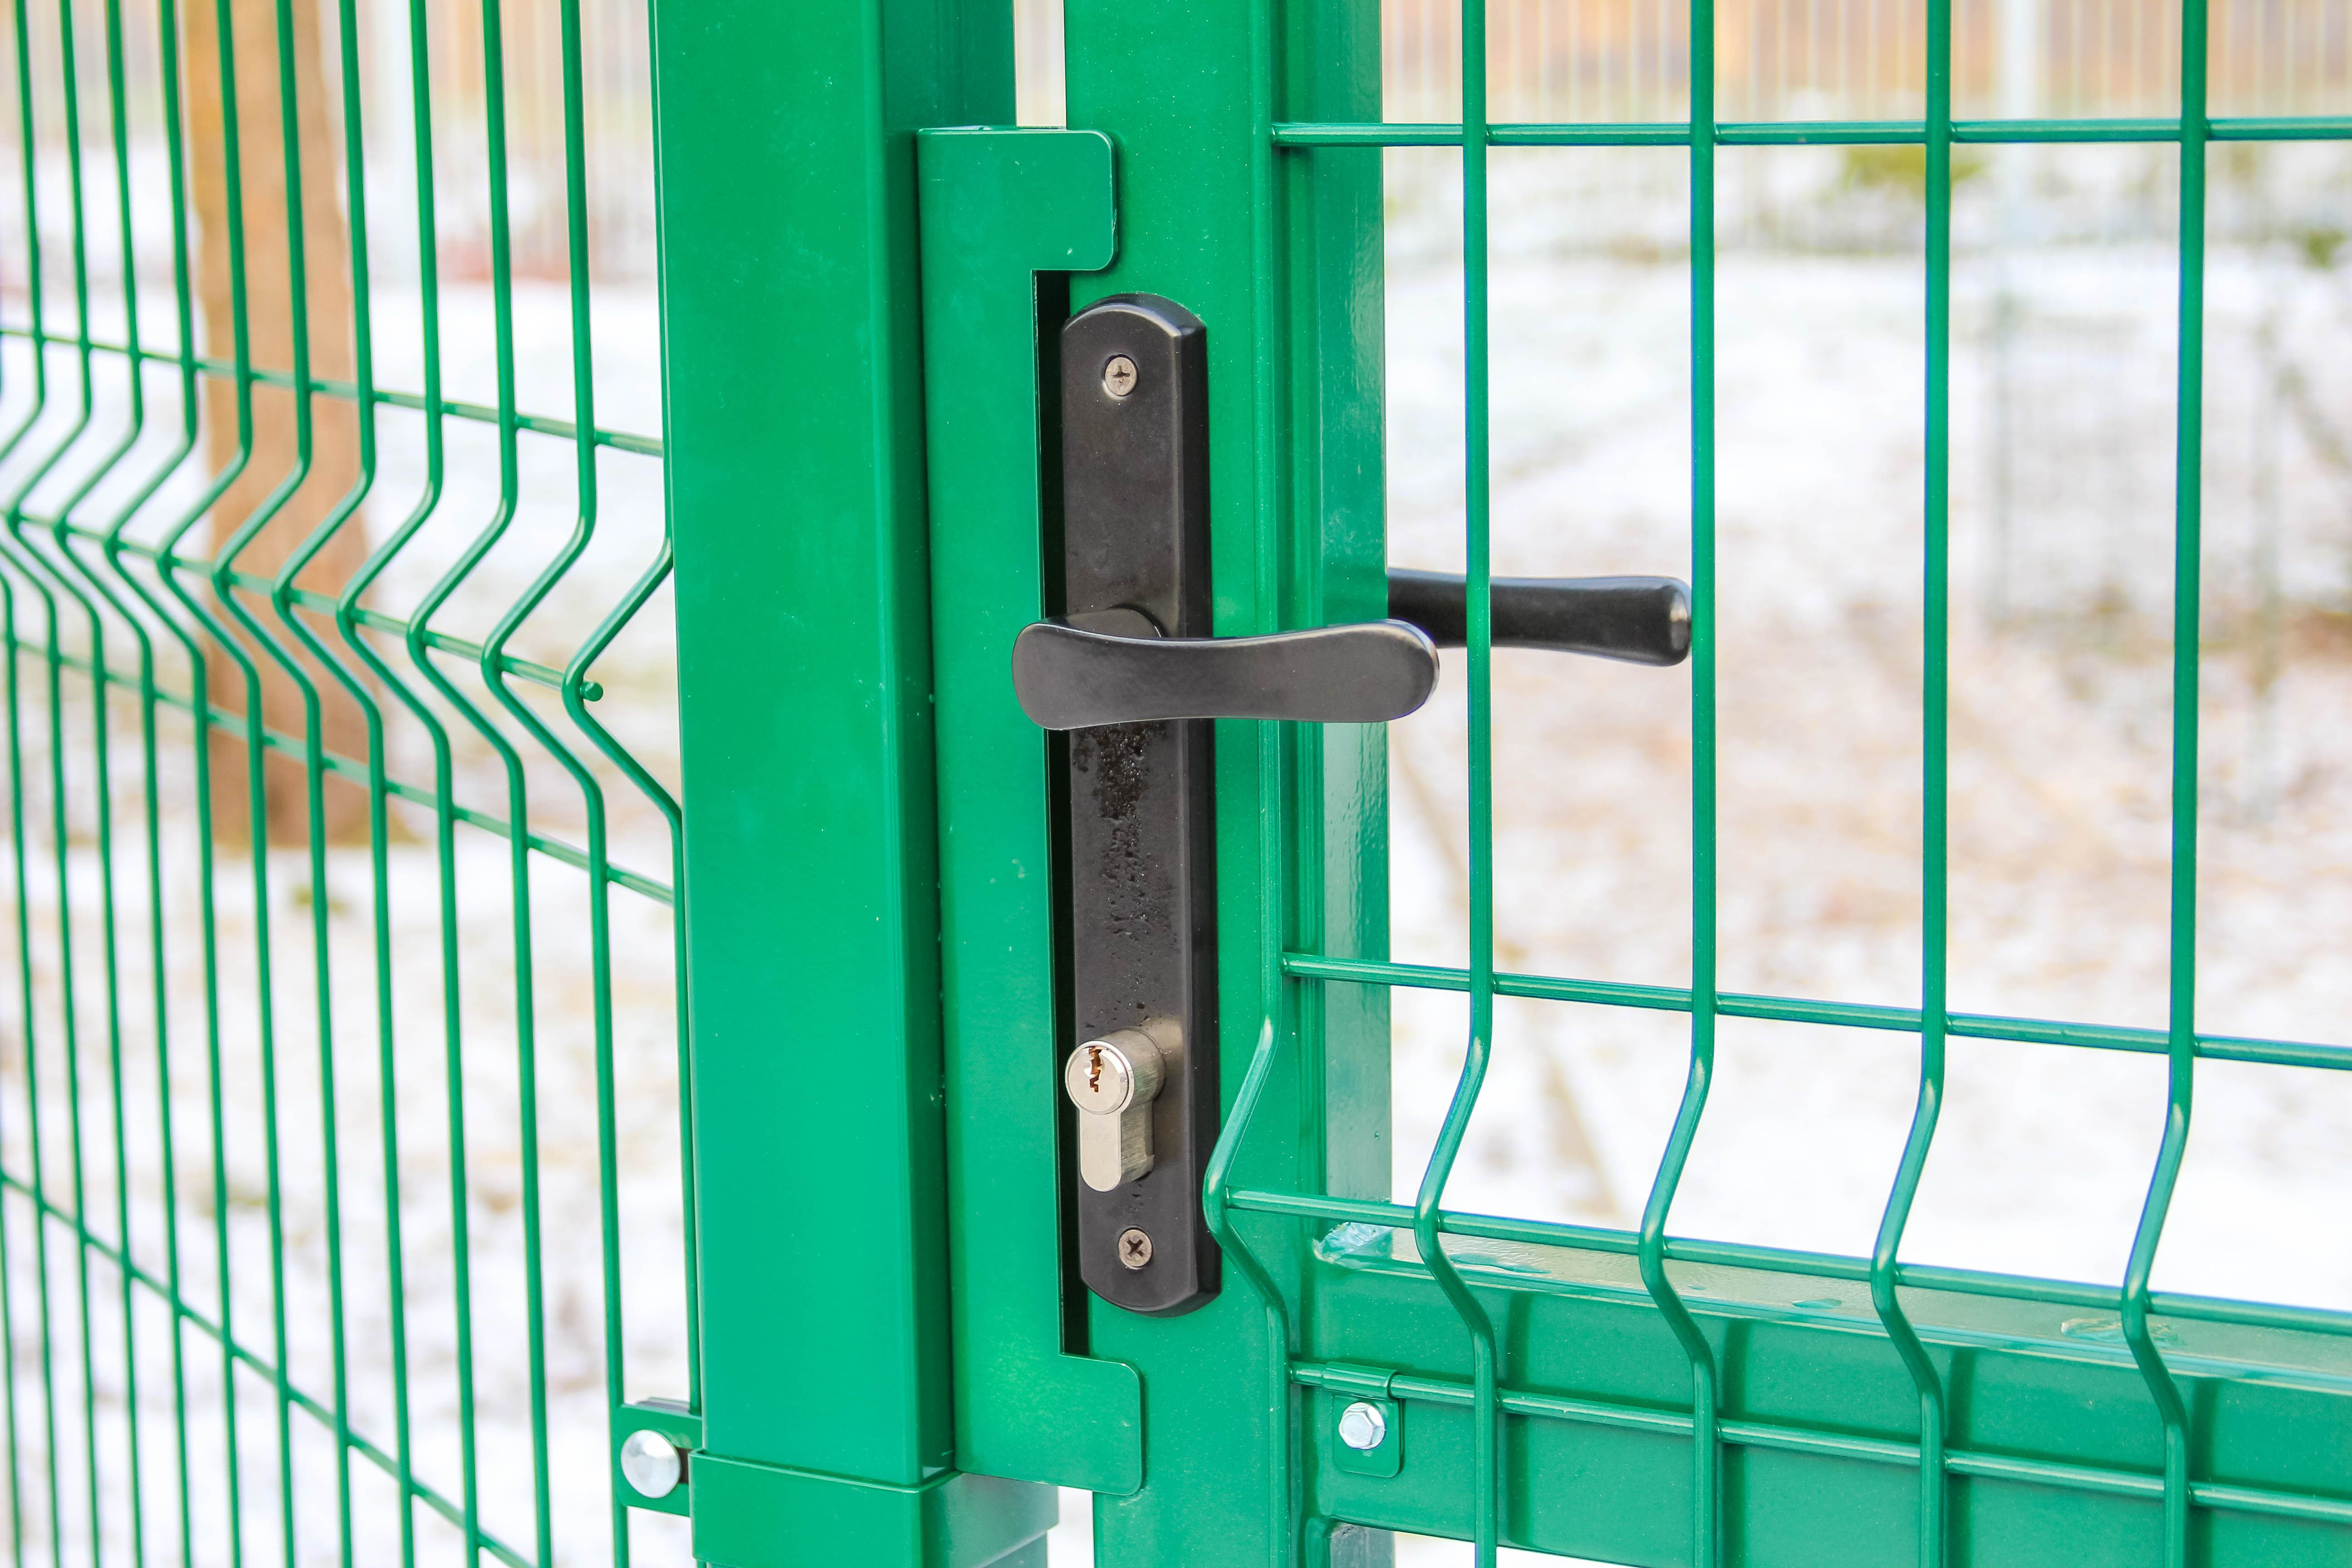
Choosing the Right Material
Fences can be made from a variety of materials, each with its own benefits and drawbacks. Wood is a popular choice for its natural look and versatility in design. However, it requires more maintenance than other materials. Vinyl is a low-maintenance option that offers durability and a clean appearance. Metal fences provide strong security but may not offer as much privacy.
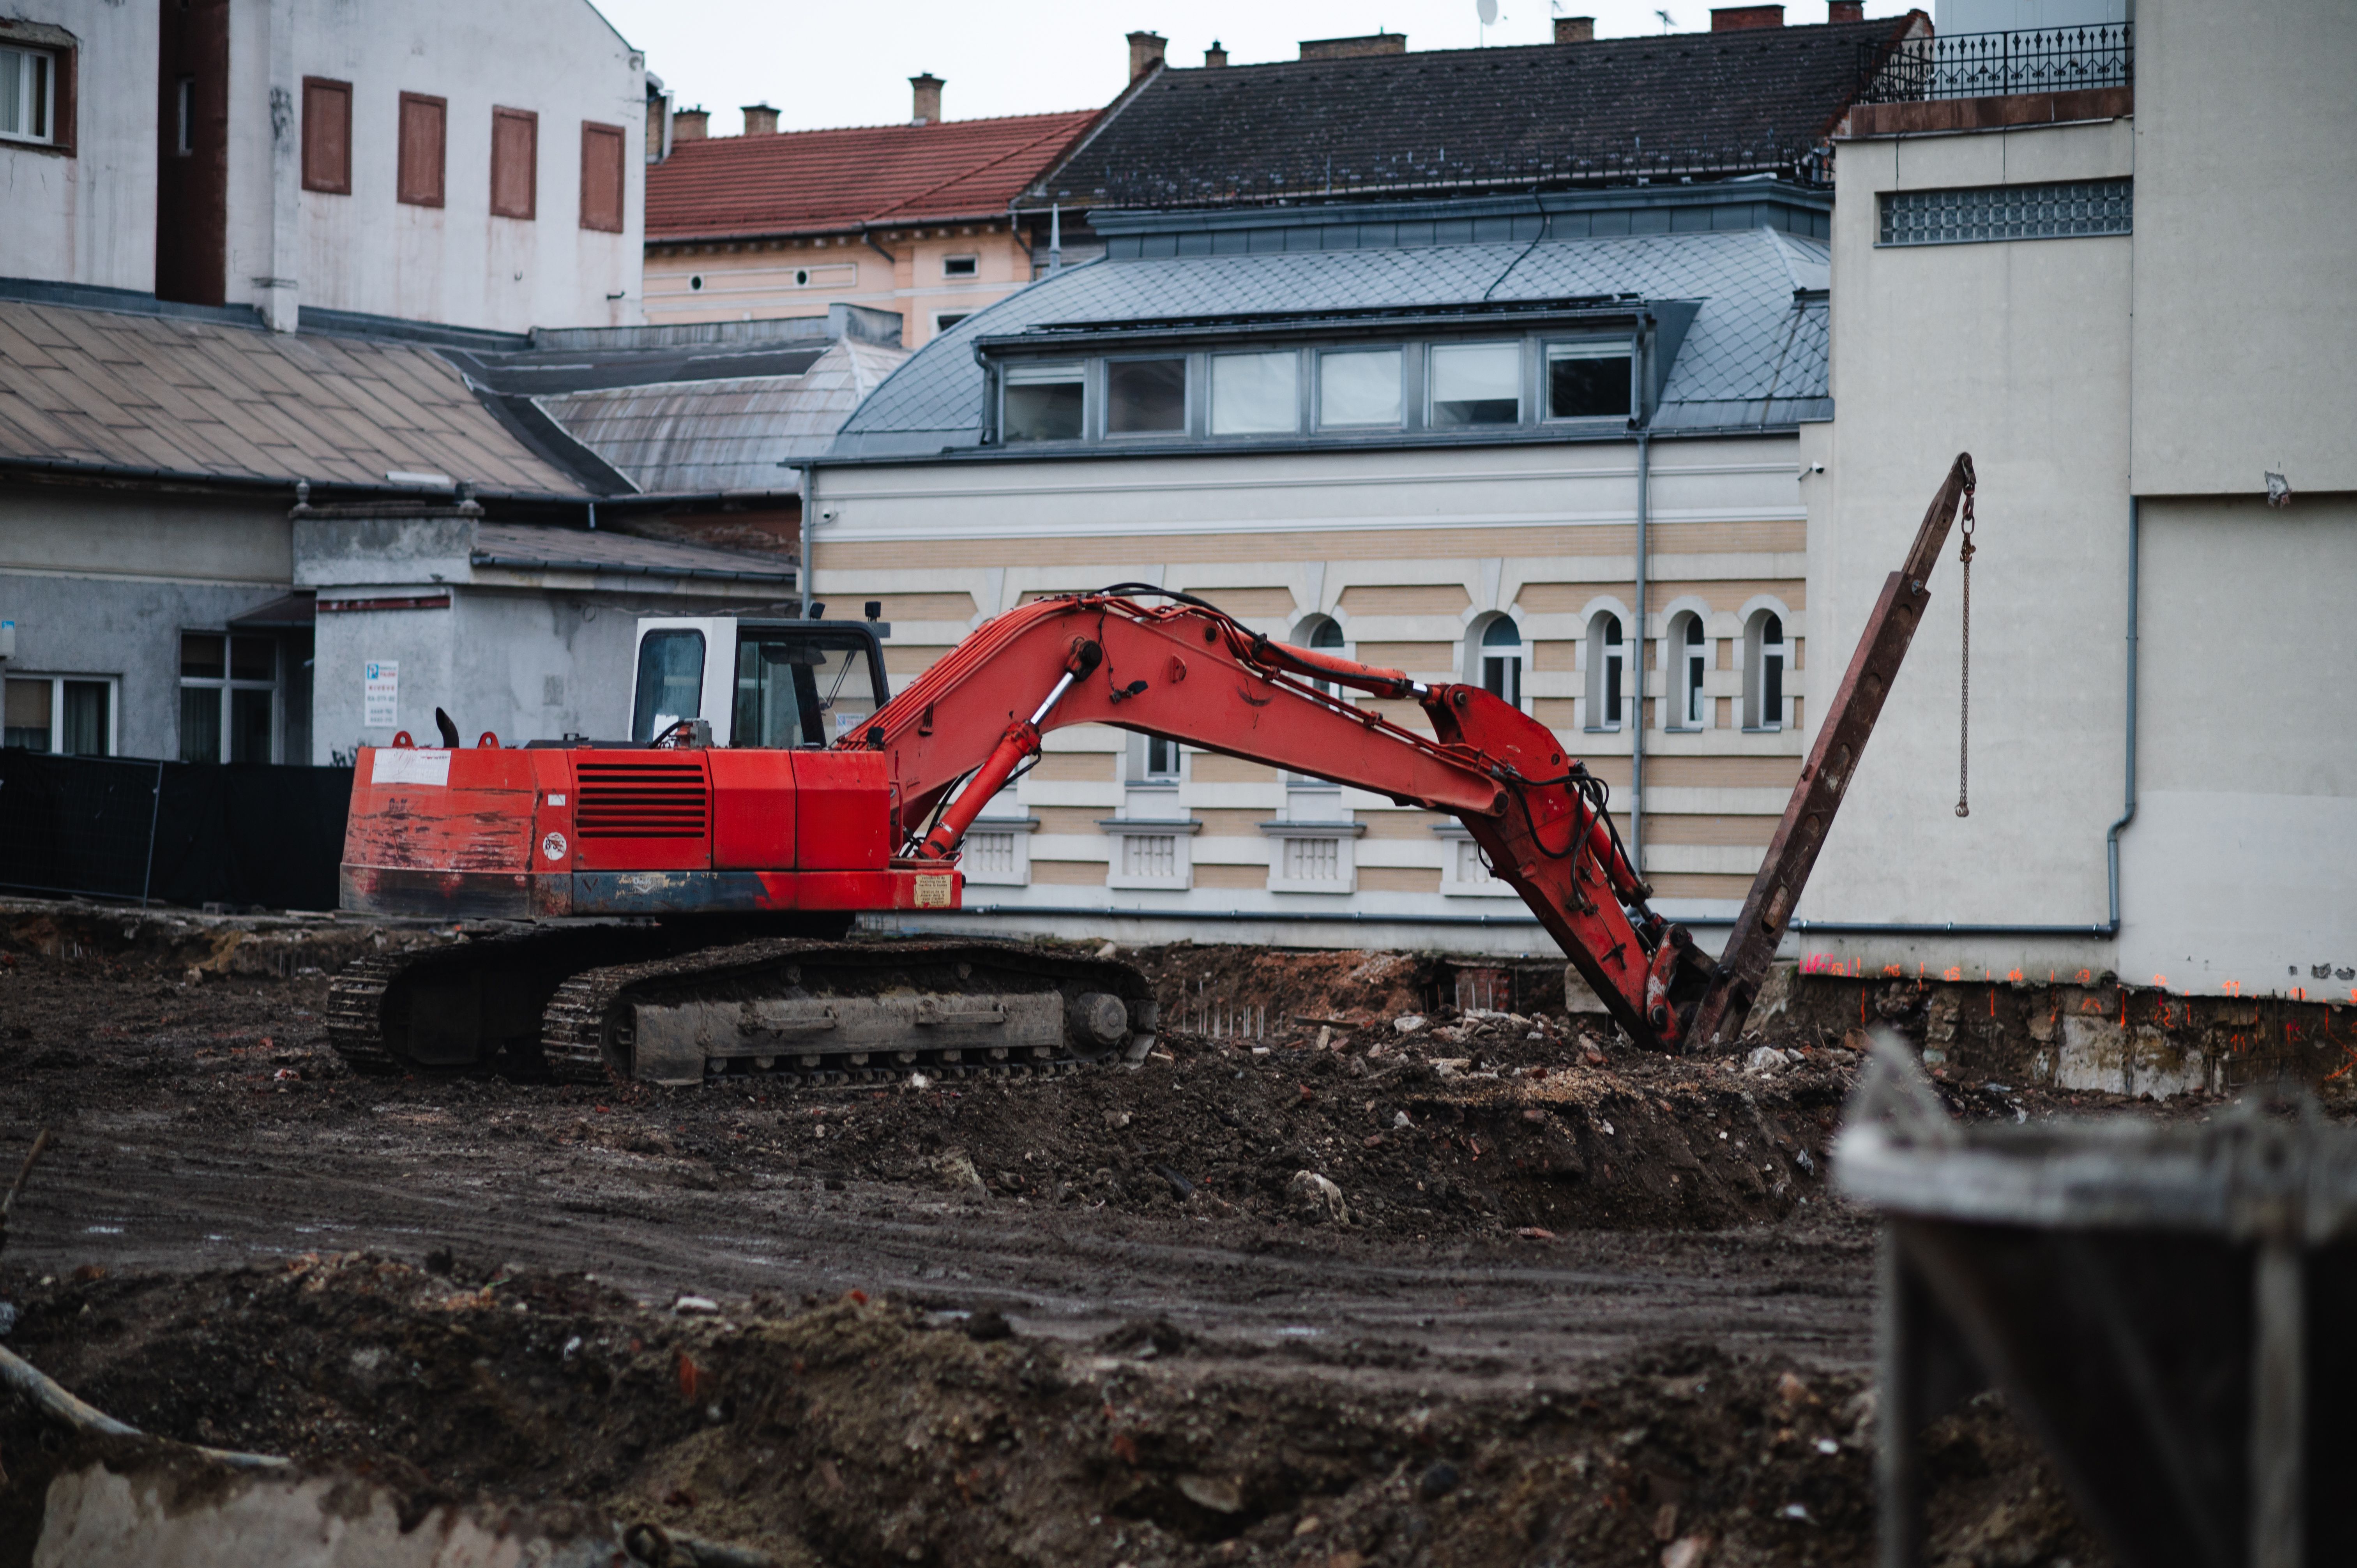
Preparing Your Site
Proper site preparation is essential for a successful DIY fence installation. Start by marking the boundary lines using stakes and string to ensure your fence is installed in the correct location. This step is crucial to avoid disputes with neighbors or violating local regulations.
Remove any obstacles such as rocks or vegetation that may interfere with your fence line. It's also wise to check for underground utilities before digging post holes to prevent damage and ensure safety.
Setting the Posts
The stability of your fence largely depends on how well the posts are set. Dig post holes deep enough to support your fence's height—typically one-third of the post should be buried. Use concrete to secure the posts in place for maximum stability. Ensure each post is level before the concrete sets.

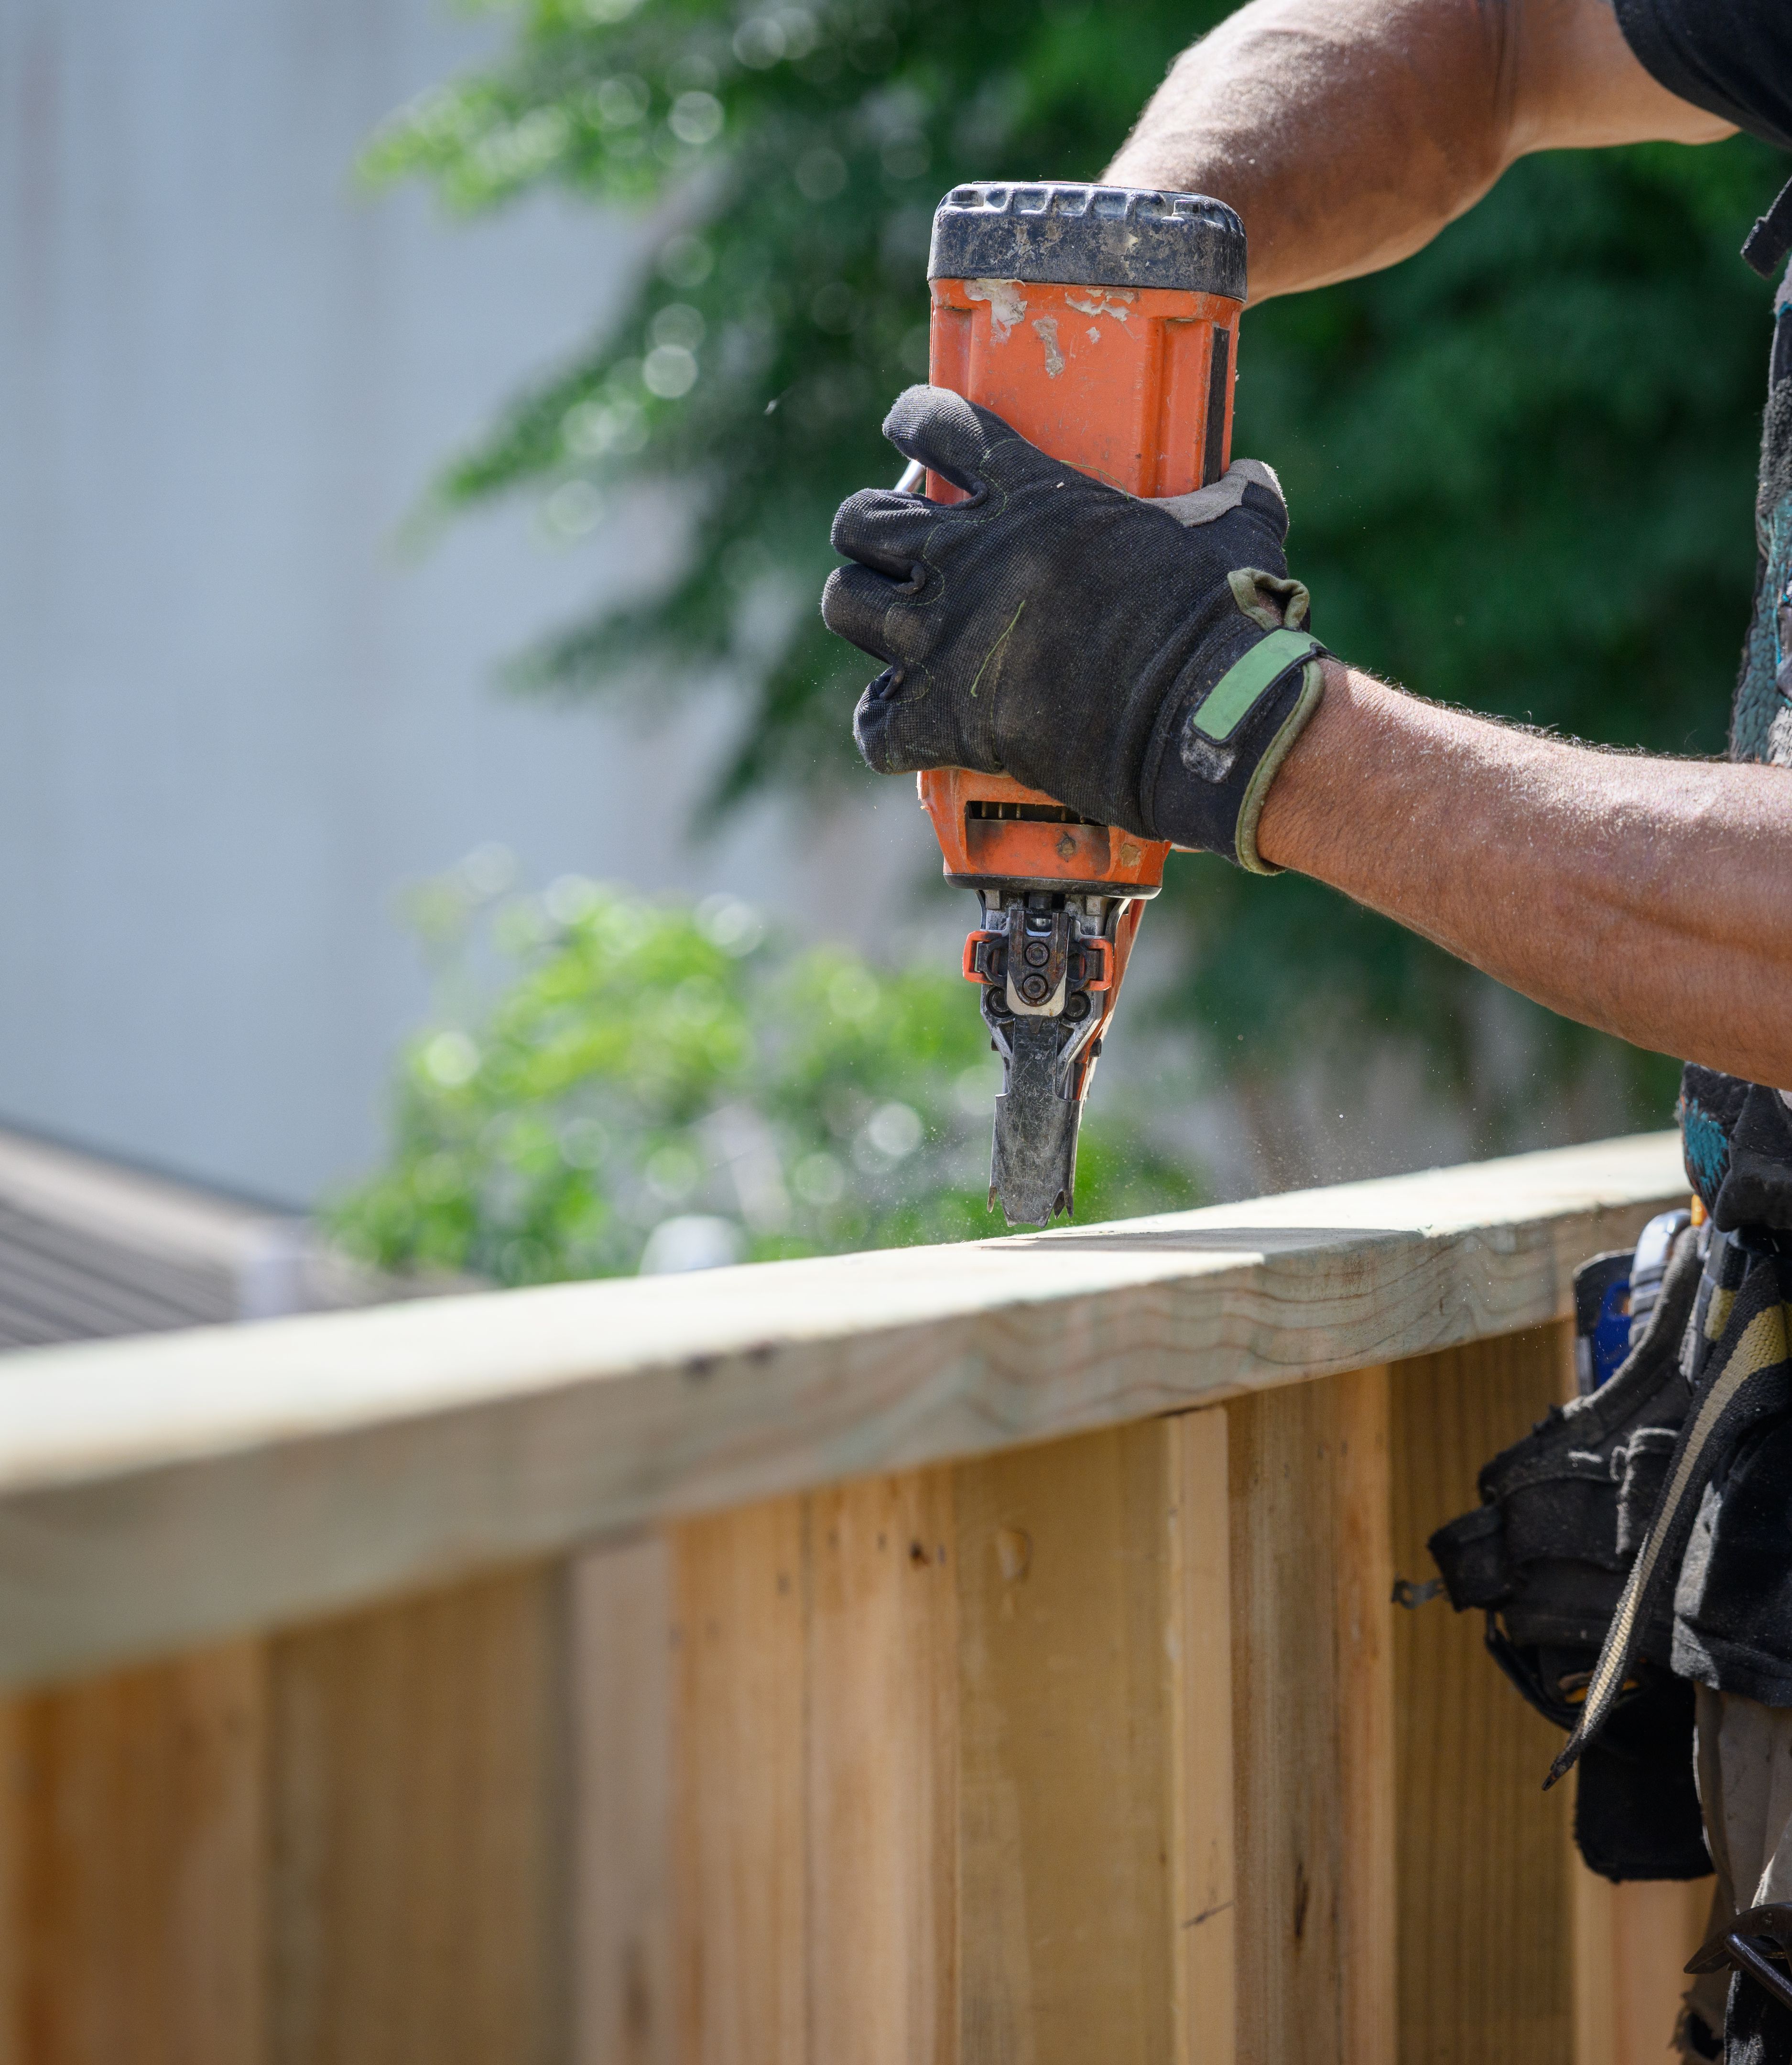
Installing Fence Panels or Pickets
With your posts securely in place, it's time to install the fence panels or pickets. Start at one end and work your way along the line, using a level to ensure each panel is straight. Secure panels with nails or screws, ensuring they are tightly affixed to the posts.
If you're installing pickets, maintain consistent spacing between each one for an even appearance. Take care to align the tops of the pickets for a professional finish.
Adding Finishing Touches
Once your fence is fully installed, you can add any finishing touches to enhance its appearance and longevity. Consider applying a sealant or paint to wood fences for added protection against the elements. For vinyl or metal fences, a simple wash will keep them looking fresh and clean.
You may also wish to add decorative elements like post caps or finials to give your fence a unique touch. These small details can make a big difference in the overall look of your project.
Maintaining Your New Fence
Regular maintenance is key to ensuring your new fence remains in top condition for years to come. Inspect your fence periodically for signs of damage such as rot, rust, or loose fasteners. Address any issues promptly to prevent them from worsening.
Cleaning your fence regularly will also help preserve its appearance. Use appropriate cleaning solutions based on the material of your fence, ensuring not to damage any protective coatings.